
Newer post available
Hi there, you are viewing an old post that is a bit outdated. Click here to view the post with the latest instructions.In part 1, I covered how to use UTM parameters to capture lead source when you are embedding a Pardot form on a Pardot landing page. In this post, I will cover how to implement the same method using an iFramed form on a web page.
Note: step 1 and step 2 are the same as the instructions outlined in part 1.
Step 1: Create new fields and add them to your forms
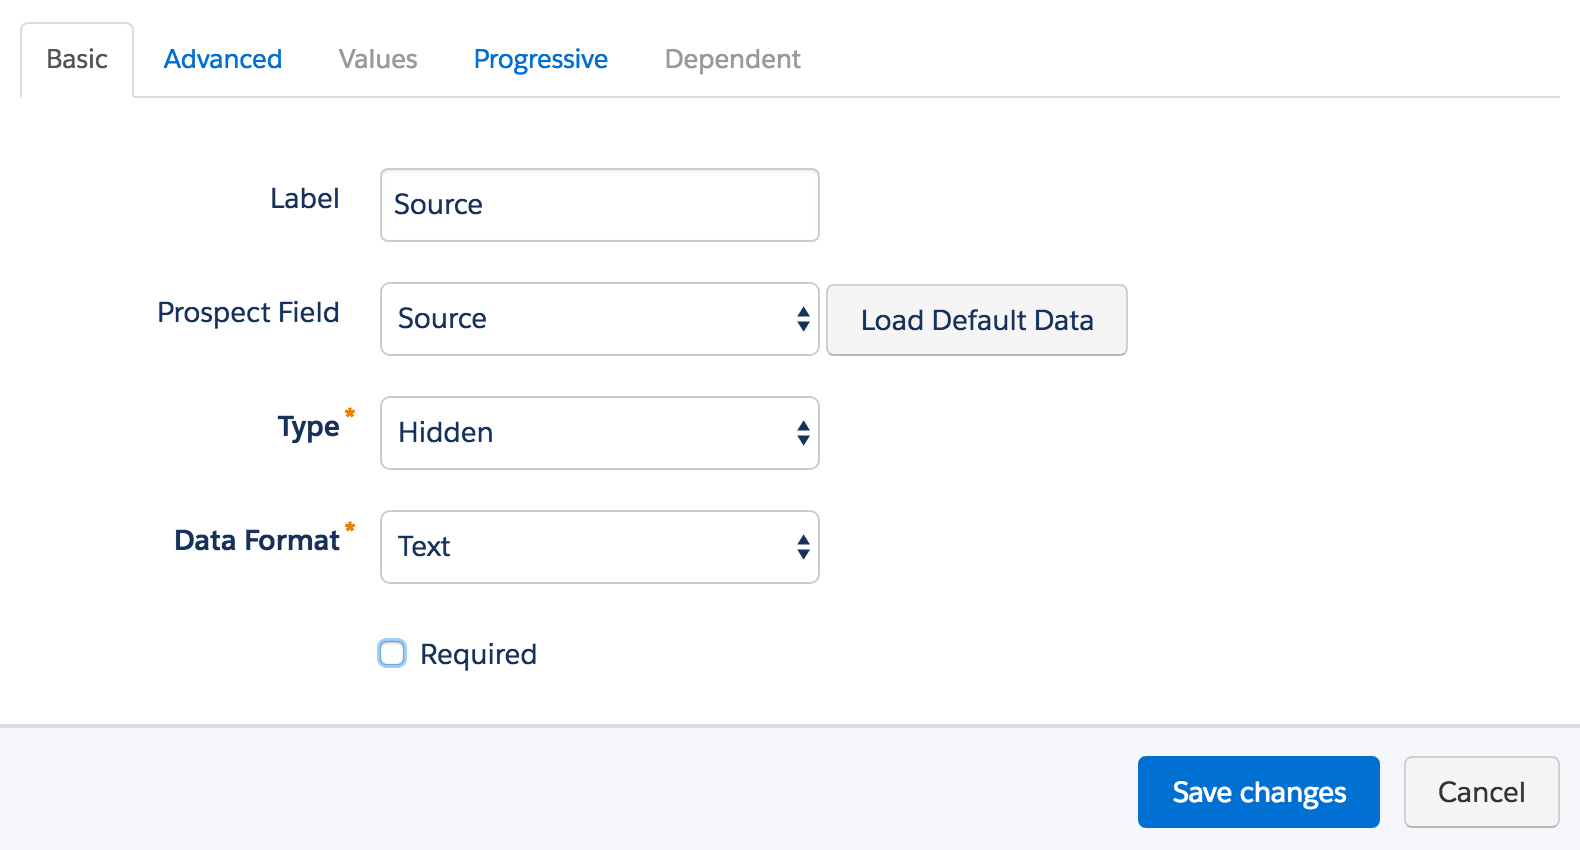
The first thing you need to do is create 2 new fields in Salesforce and in Pardot and map them. You don’t need to create a field for utm_source, we will use the standard source field in Pardot.
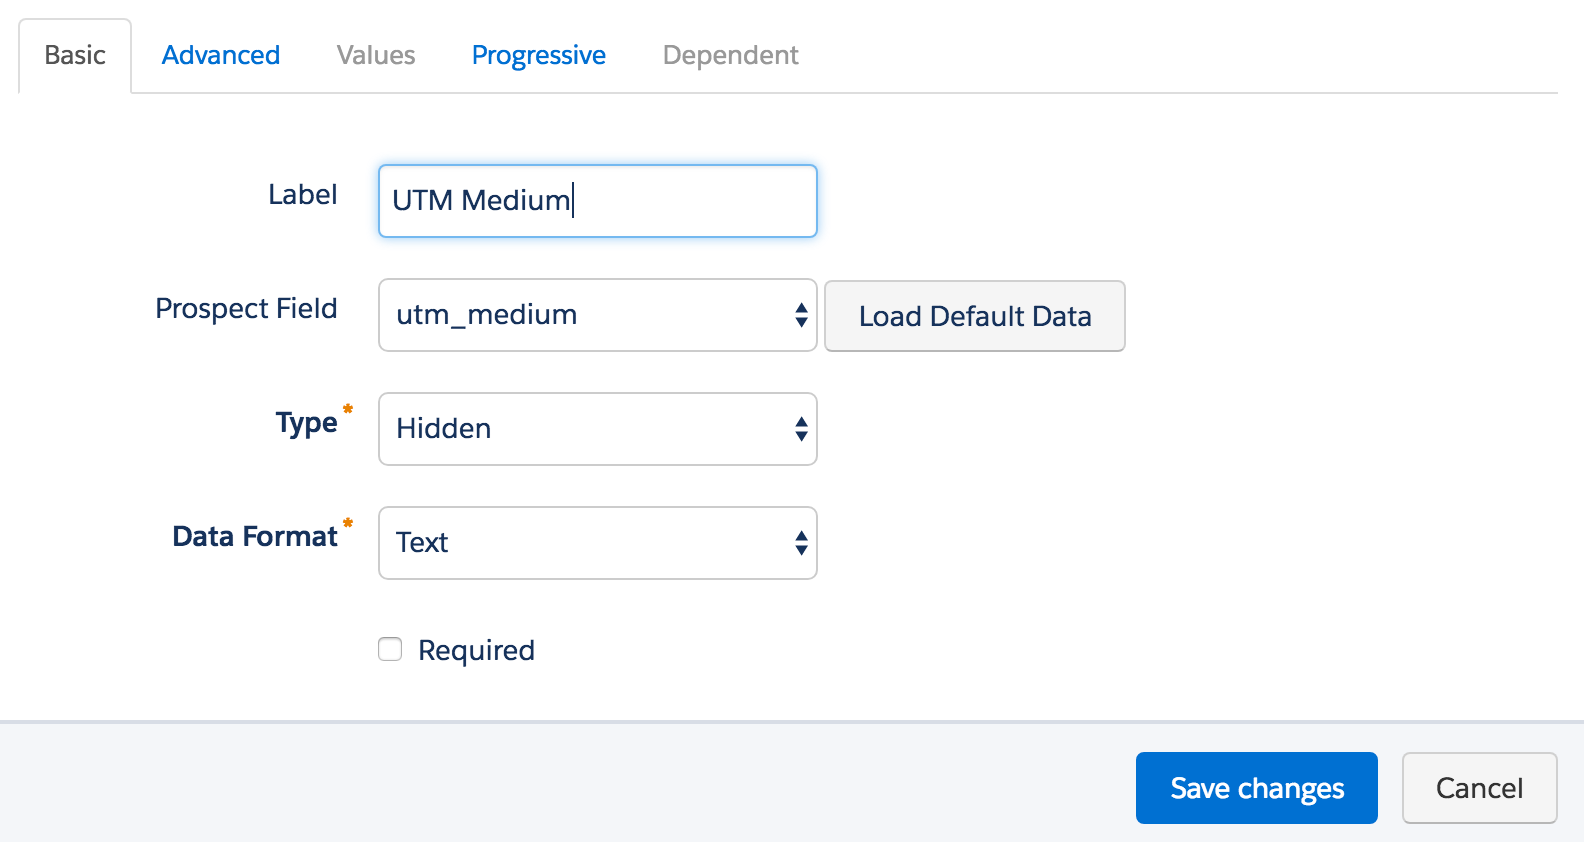
- utm_medium
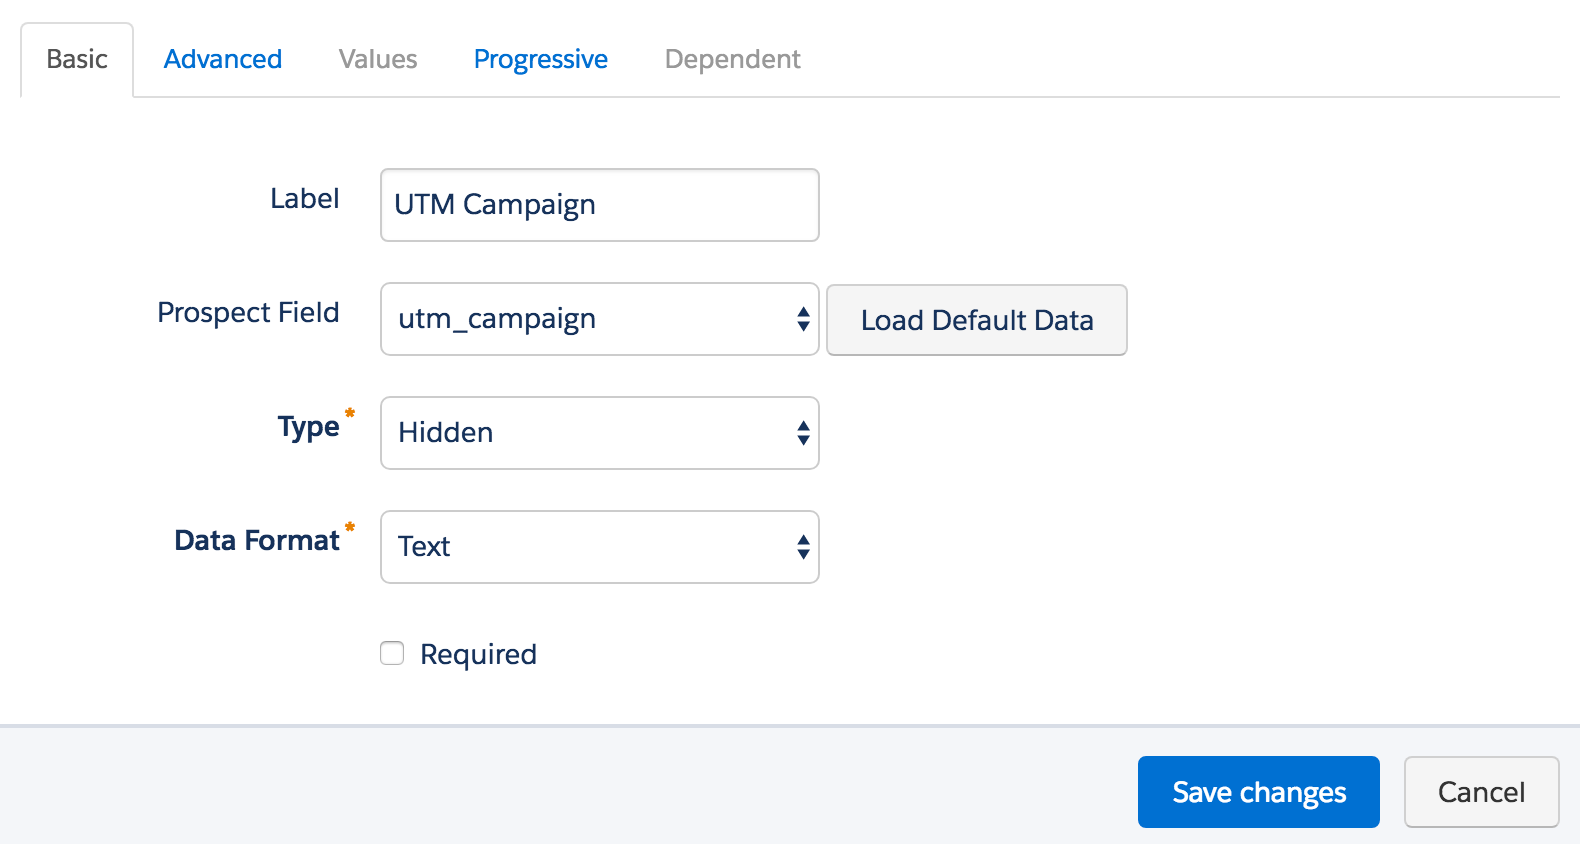
- utm_campaign

Next, add the fields to your Pardot form. All 3 fields should be hidden and not marked as required.
Step 2: Add Some Code to Your Landing Page Templates
This piece of code will parse the URL parameters and put the values into the hidden fields within your form. This code can be placed within your landing page template or within your form in the below form section.
Note: If you don’t use the field names outlined in this tutorial, you might need to update the JavaScript to include the correct field names.
Step 3: Embed your form on your web page
Use the standard iFrame code Pardot provides to embed your form on your webpage.
Step 4: Give your iFrame and ID and add the JavaScript
Since we will be adding some JavaScript to the web page in order to pass the parameters to the iFrame, we need to give the iFrame an ID. Here’s what my iFrame code looks like after adding the ID called “myiframe”.
Add the JavaScript to your web page that will pass the URL paramters from the parent page to the embedded Pardot iFrame form.
If you used a different ID for your iFrame, other than “myiframe”, you will need to update the ID within the JavaScript.
Create URLs and Test
Now you’re ready to start creating URLs and testing your form. Use this handy URL builder to create your links and then fill out the form to see if the values go into Pardot.
Questions?
Send me a tweet @jennamolby, leave a comment below, or book a Peer Chat.
19 Comments
Hi Jenna,
I’ve followed all of your steps regarding “How To Use UTM Parameters to Capture Lead Source in Pardot” and I still can’t get it to work.
Question: Which element of the custom Pardot prospect field needs to match the field names used in the java script in step 2 (e.g. document.querySelector(“p.utm_campaign input”).value = campaign)?
Is it the:
Name
Custom Field ID
salesforce.com Field Name
Hi Andy, it would be the Salesforce.com field name.