
Update
As of February 12, 2020 You can enable the two-click unsubscribe functionality in Pardot to require prospects to confirm that they no longer want to receive emails. More details can be found here.
The standard unsubscribe link in Pardot is a one-click unsubscribe link, meaning that once the link in the email is clicked, the prospect is unsubscribed automatically. While this makes it easy for the prospect to opt-out of your emails, it also makes it easy for spam filters to click this link and unsubscribe your prospect unintentionally. Unfortunately, there’s no way to customize the standard unsubscribe page to prevent this from happening, but you can create a preferences page and customize it to act like an unsubscribe page.
Turning a preferences page into an unsubscribe page
The goal is to take a preference page, update the copy and add some styling to turn it into an unsubscribe page where prospects must click the unsubscribe button on the page to be opted-out of email communications. The link to the preferences page can then be added to your emails instead of the standard unsubscribe page link.
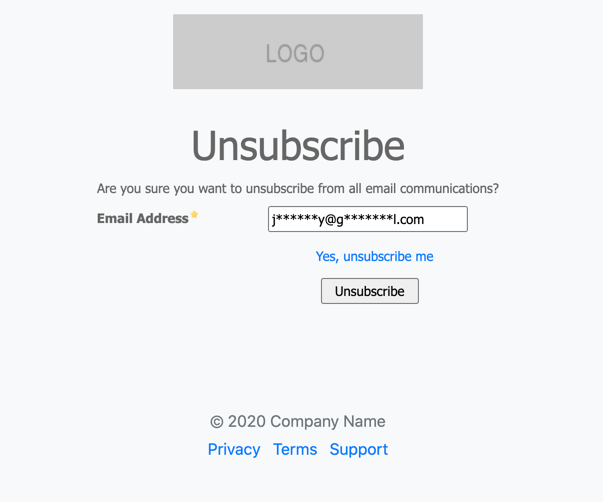
Here’s what the completed page will look like.
Already have a preferences page set up? Don’t worry, you can use more than one preferences page link within your emails.
Create a new Layout Template
Create a new layout template to use for your new preferences (unsubscribe) page (Marketing > Landing Page > Layout Templates > New Layout Template) and paste your HTML into the template. Add the tag %%content%% where you want the preference center form to appear.
Here’s the HTML I used for my layout template.
%%title%%
 %%Content%%
Create a new preferences page
Create a new preference page using your new Layout Template (Marketing > Emails > Preferences Page > Add Email Preferences Page). Since this will be an unsubscribe page and not a preferences page, leave the associated lists section blank.
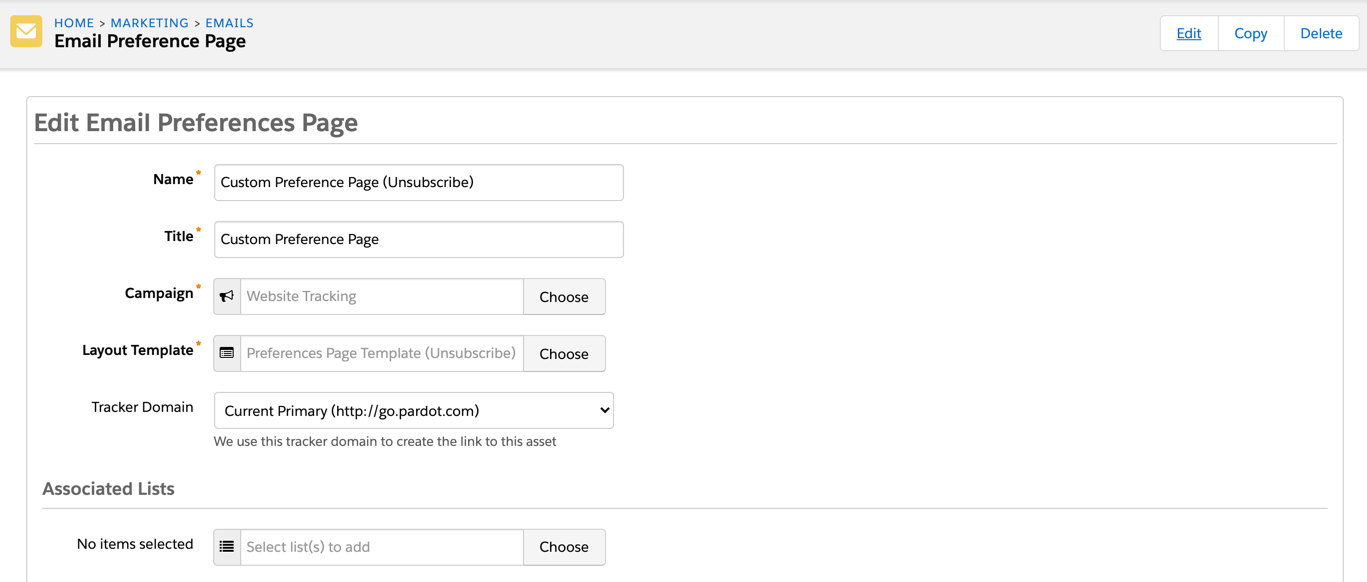
In the form content section of the preferences page, change the text to indicate that this is an unsubscribe page instead of a preferences page.
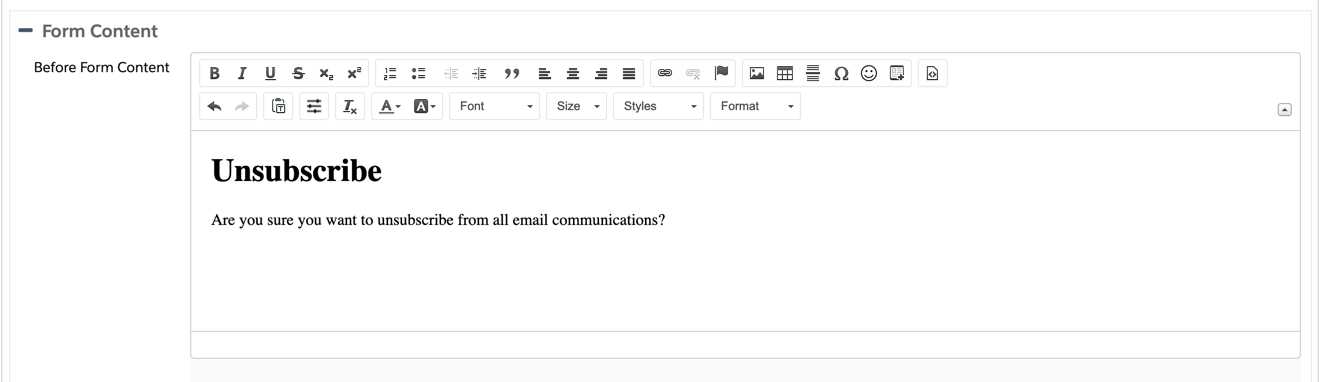
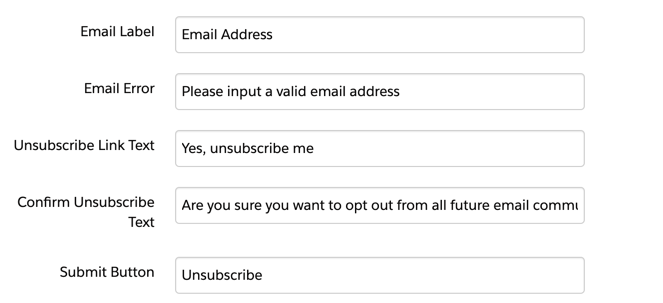
Here’s what my preferences page looks like once the text has been updated.
Add some additional customizations
You will want to add some additional customizations to your preferences page to make it function more like an unsubscribe page.
Remove the submit button
The standard submit button you see on the page doesn’t have a purpose unless there are lists on your preferences page. The button can be hidden by adding some CSS to your Layout Template.
/* Hide the preferences form submit button */
p.submit {display:none;}
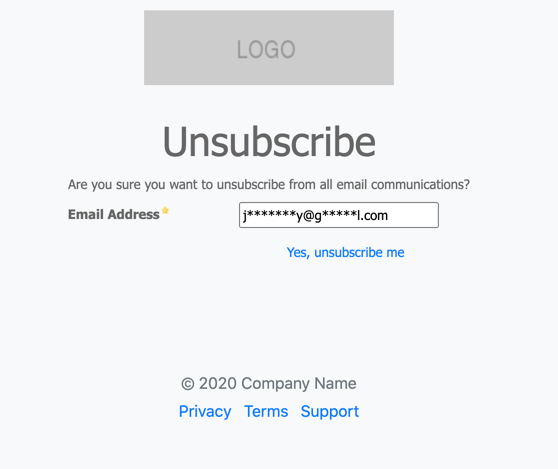
Here’s what my page looks like with the submit button removed.
Turn the opt-out link into a button
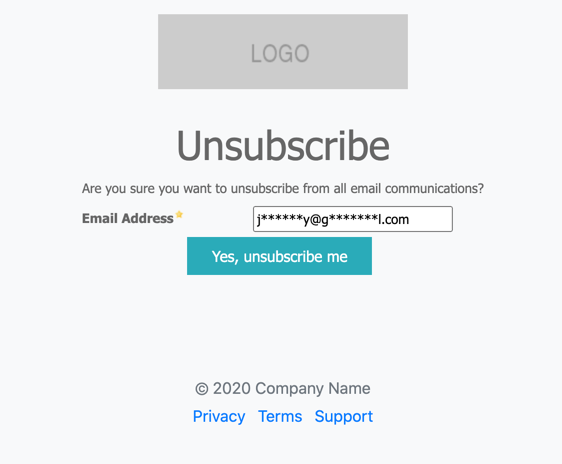
Since we removed the form submit button from appearing on the page, the opt-out link can be styled, so it looks like a submit button.
/* Style the opt-out link */
form.form a {background-color:#28abb9;color:#FFF;padding:10px 25px;font-size:15px;}
form.form a:hover {text-decoration:none;}
form.form p.email-pref, form.form p.no-label {margin-left:0 !important;}
Hide the email field
Optionally, you can hide the email field by adding this CSS to your Layout Template.
/* hide the email field */
.pd-email {display:none;}
The final HTML
Here’s my final HTML with all the customizations included.
%%title%%
%%Content%%
The final result
Finally, here’s what the preferences (unsubscribe) page looks like for the prospect.
Testing tips
- Viewing the preferences page link directly will not show the “opt-out” button/link.
- Test the preferences page link by using the send to test lists option instead of the send to individual emails option.
Questions?
Send me a tweet @jennamolby, leave a comment below, or book a Peer Chat.

6 Comments
Thank you for this post, this is supper helpful! I tried your code, so far it’s working but I noticed it’s linked back to the unsubscribe page upon clicking “yes” on the pop-up message, is it something I can customize as well? (ie. link to another landing page), I’m using 1 Pardot account for 2 brands and want to keep the unsubscribe feature separately for the 2 brands.
Also if doing, can I still see unsubscribe report as normal?
Hi Nancy, You’re welcome! I’m not sure I understand the issue. Feel free to DM me with screenshots or share the URL with me.
Hi Jenna –
Thanks for the awesome tutorial! Quick question – is there any reason for this to not show the “Yes, unsubscribe me” button when viewing from a Mac or on mobile? It displays correctly from a PC, but haven’t had any luck with it on anything else. Would appreciate your thoughts/assistance. Thank you!
Hi Wes, You’re welcome!
It should work on all devices. Maybe there is some custom code in your layout template that is causing it to not display on mobile devices?
How does this impact Opt-Out reporting results? Doesn’t Pardot report on clicks on the Unsubscribe link click?
Hi Becky, Great question! In my testing, it did not impact reporting results (see this screenshot: https://jennamolby.com/how-to-prevent-automatic-email-unsubscribes-in-pardot-report-screenshot/). The unsubscribe still shows in the email report in the “total opt-outs” section even when going through a preferences page.