
I’ve seen a lot of information about implementing the new Lightning Email Builder, but I wanted to get into the nitty gritty details of how to build Lightning Email Templates and Content, the current limitations, and when the new builder should be used over the classic builder.
Before we dive in, here is a quick overview of the Lighting Email Builder and its different sections:
Features you’ll use while editing in the builder

- Preview Mode – Use this to preview the email template so you can adjust for desktop or mobile.
- Components Panel – Available components for the email template. This section will include standard components, pre-designed layouts, and any custom components installed in the org.
- Row – All Components are placed in rows. These are the editable sections of your email template.
- Canvas – Add drag-and-drop Components to the canvas to build your email template.
- Property Panel – Displays what can be changed in the email template or currently selected row. When no row is selected, use this panel to set your email preheader.
Note: We updated this post for the Salesforce Spring ’22 release.
Pardot Lightning Email Builder Overview
When working with the Lightning Email Builder you have the option to create Email Templates or Email Content.
- Email Templates can be used as a starting point when building Email Content in the Lightning Email Builder. You can build Email Templates from scratch or download these free templates by Salesforce Labs.
- Email Content are emails built within the Lightning Email Builder and can be used to send a list email or, once “Activated for Automation,” be used in an Engagement Studio Program (ESP), as an autoresponder, or within Salesforce Engage.
In this post we will cover creating Email Content. Email Templates are similar, but Email Content has a few additional options.
Designing an email in the Lightning Email Builder
If you have not yet enabled the new Lightning Email Builder in your org, this is a great blog post to walk you through it.
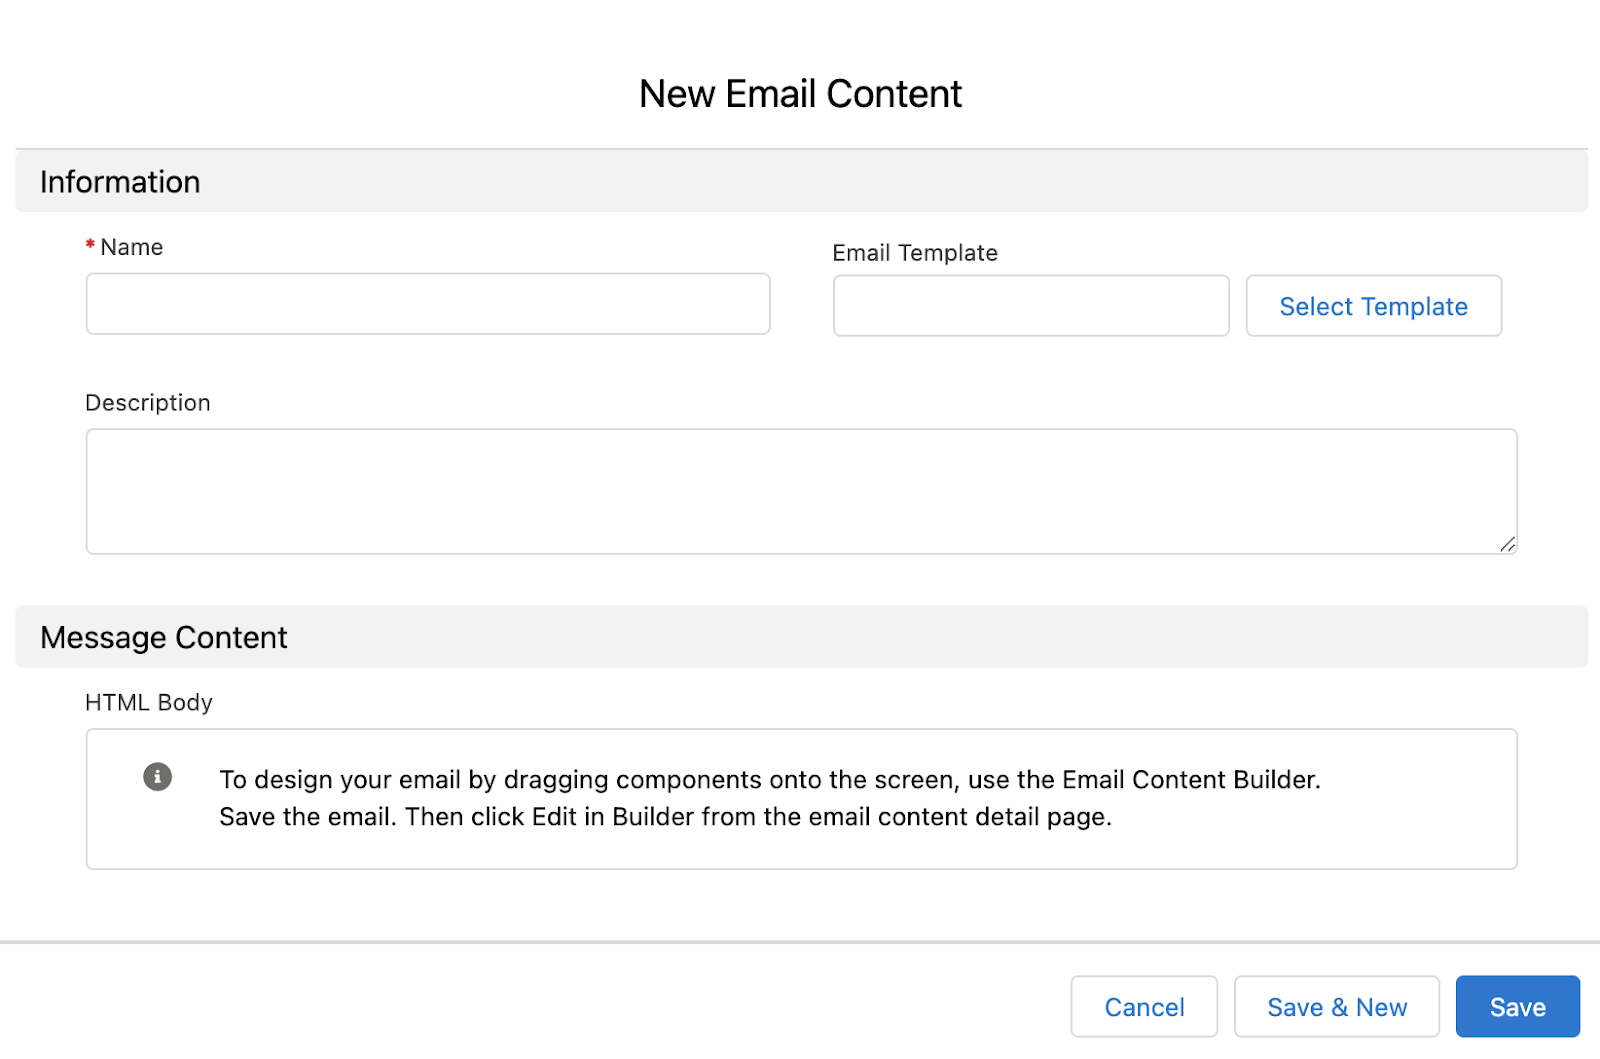
To start building email content, navigate to the Email Content tab in Salesforce and click New. Here you can name your Email Content and add an Email Template to start from and/or a description, if desired.
Unlike the classic builder, Email Templates and Email Content in the Lightning Email Builder can have the exact same name as other templates/content. Ensure you use naming conventions to avoid having templates/content with the same name, which can cause confusion or errors for your users.
Once saved, click Edit in Builder from the top right hand side to open the Lightning Email Builder.

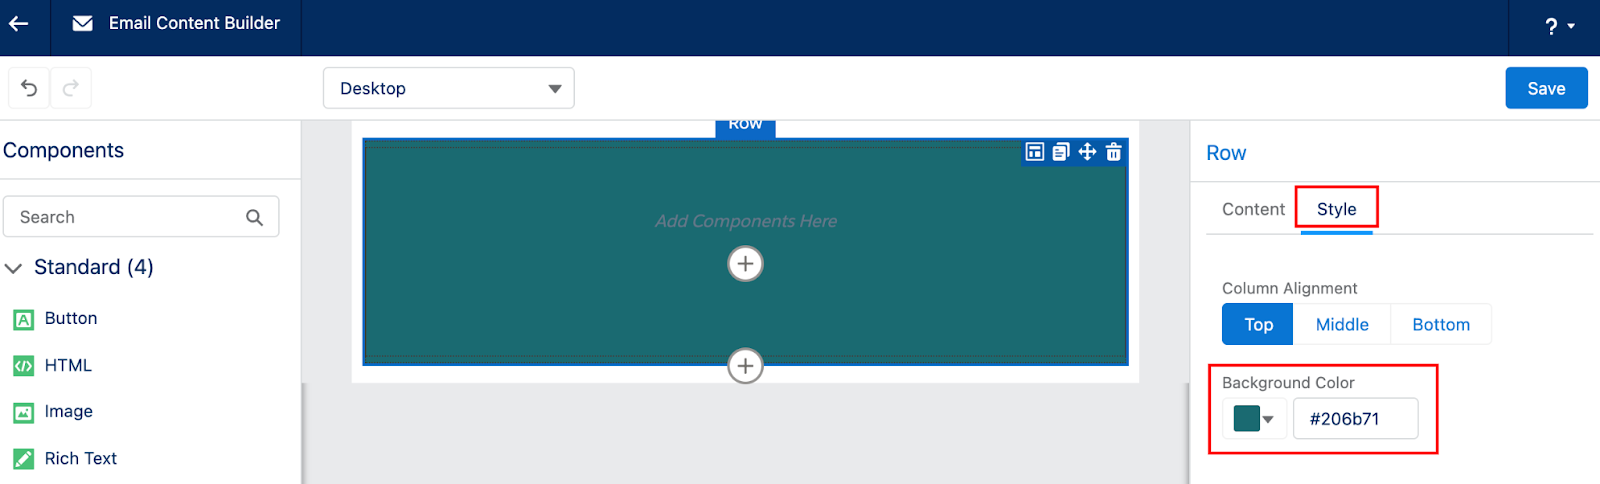
To start building an email, drag a component from the left side menu to a row. If you want your row to have a pre-set background color, I’d recommend doing this first, it’s a little tricky to select the row behind a component once added.
Adding a background color
Select a row within your email or drag and drop one from the Layout components. Once the row is selected, click the Style tab from the Property Panel to set your background color.
Adding content
To start adding content to your email, drag a component from the left side menu and drop it within the row. The right side Property panel will change depending on what type of component you selected. Below is what you will see for a Rich Text component.

Similar to the classic builder, you can enter content directly into the editor or switch to the source code if you prefer editing the HTML. The classic builder will allow you to set the font face, but it is currently limited to the fonts available in this dropdown list. Custom fonts are not yet supported (as of the Spring ‘22 release), but this should be coming in a future release.
The Merge Fields button is at the bottom of the Property Panel in the Lightning Builder and works slightly differently from the classic builder. In the Lightning Builder, the Merge Fields picker displays fields by Recipient, Sender, Organization, and Other. It will also list whether or not the field is on the Lead and/or Contact object in Salesforce. Fields that only exist in Pardot are not shown in the Lightning Email Builder Merge Fields picker, but you can manually write in the merge tags. The “Other” section of the Merge Field picker is also very limited in the Lightning Email Builder, but you can manually write in the merge tags you are used to using, such as {{CURRENT_YEAR}}. Dynamic Content and Snippets are not currently supported by the Lightning Email Builder, so there is no option to insert those values.

Keep dragging in components until you’ve finished building your email, then select Save. The Lightning Email Builder does not have list email or email template drafts like the classic builder, so if you walk away from or close an editing session without saving your changes may be lost.
Unlike the Pardot Classic builder, you can save an Email Template or Email Content without an unsubscribe or email preference center link, so ensure you’ve completed this step. You will still get an error message if you try to send or activate your email and it is missing this info.
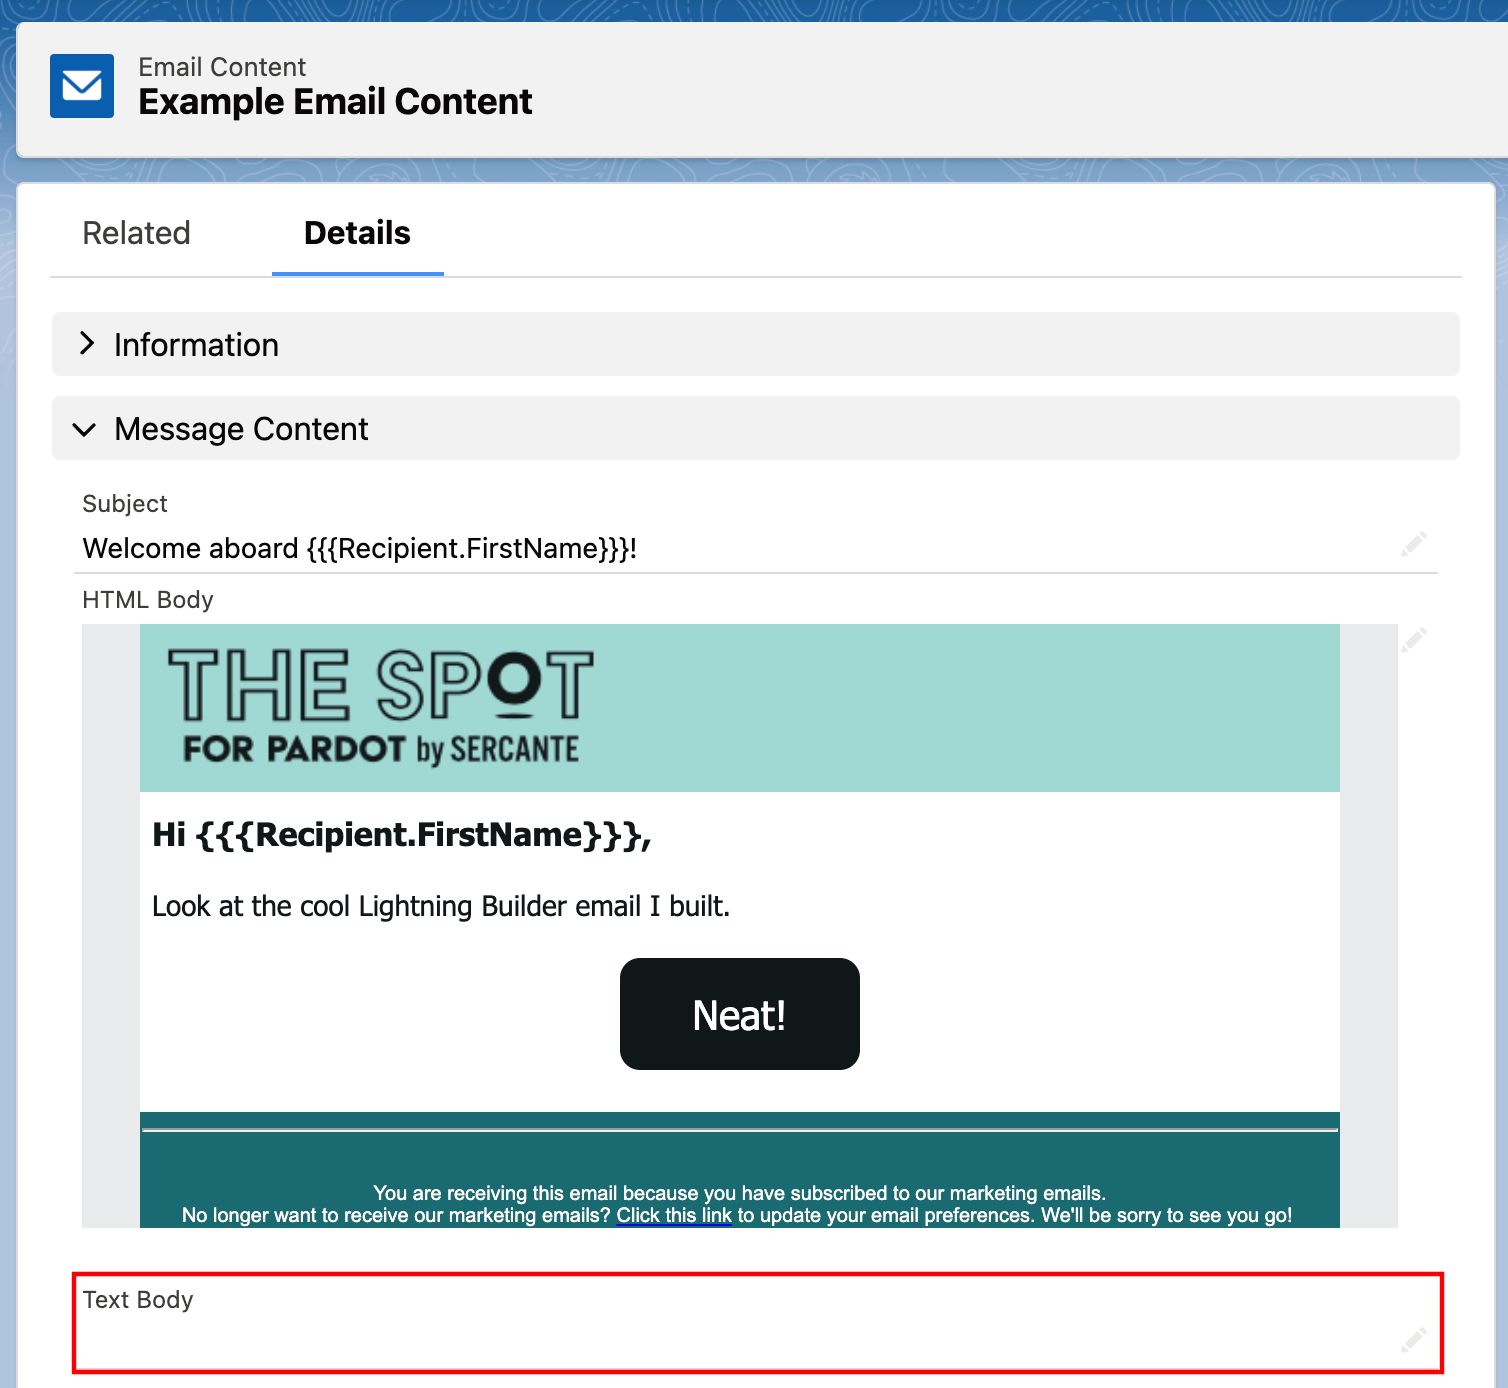
Adding the text version
Once you’ve saved your Email, go back to the Email Content view. Double click the Text Body field within the Message Content section to build the text version of your email.
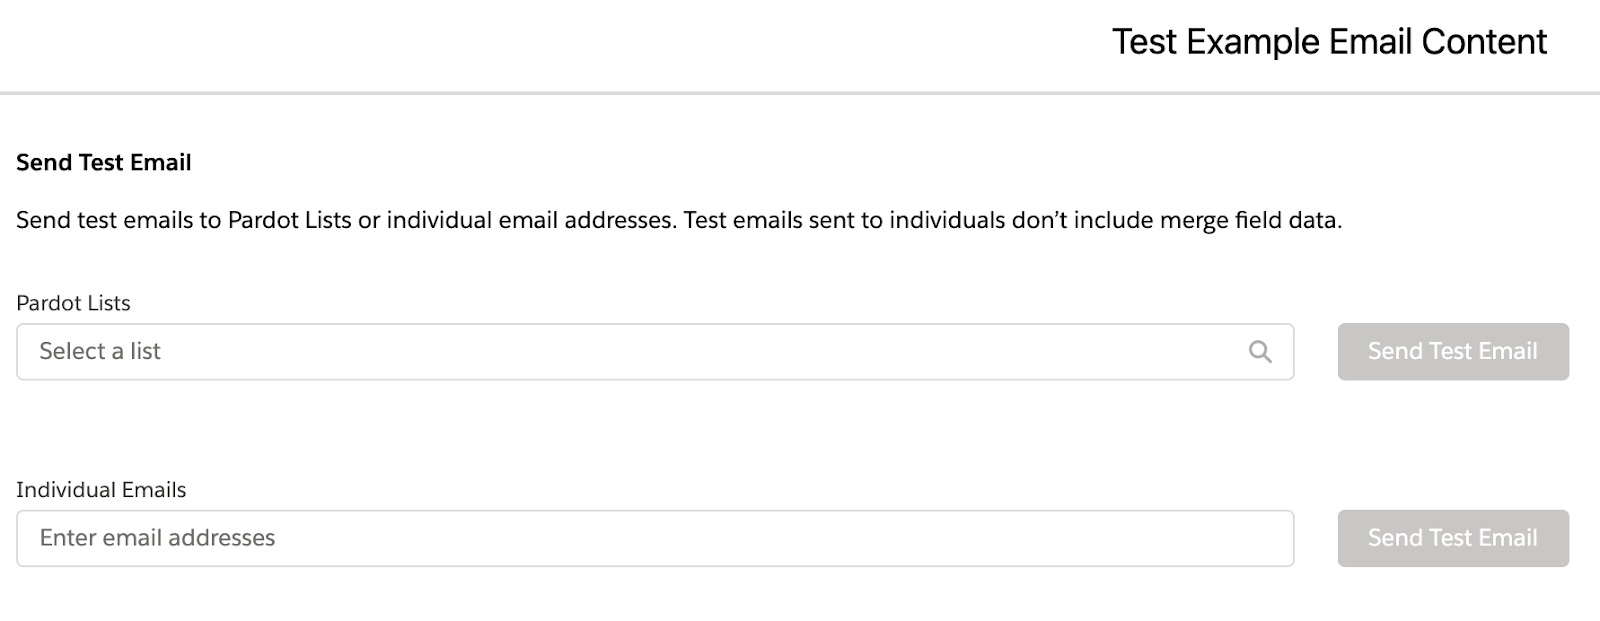
Testing your email
Testing your Email Content needs to be done from the Email Content view after your email is saved. The Test option will be in the top right corner, it may be under the dropdown depending on your page layout.
Sending an email test won’t actually check your email for issues or errors, so I typically recommend clicking Send first. When you click Send the builder will check your email for issues and display an error window (example below) if it finds anything wrong. Then you can cancel out of the Send view and proceed with testing.
Similar to the classic builder, tests can be sent to a test List (renamed to “Pardot List”) or individual emails separated by a comma.
Rendering Tests are not currently supported by the Lightning Email Builder. However, you can still run rendering tests outside of Salesforce and Pardot using Email on Acid (paid) or Litmus (paid, but there is a free trial option). MailNinja also offers a free service to preview and test your emails.
Sending your email
Once your Email Content is built, tested, and ready for prime time, it can be sent from the Email Content view.
If your email has errors, you will see a similar screen after you click Send.

If your email does not have any errors, the sending options will appear. Unlike the classic builder, this is where you set your Campaign and toggle between the available Tracker Domains within your Pardot account.
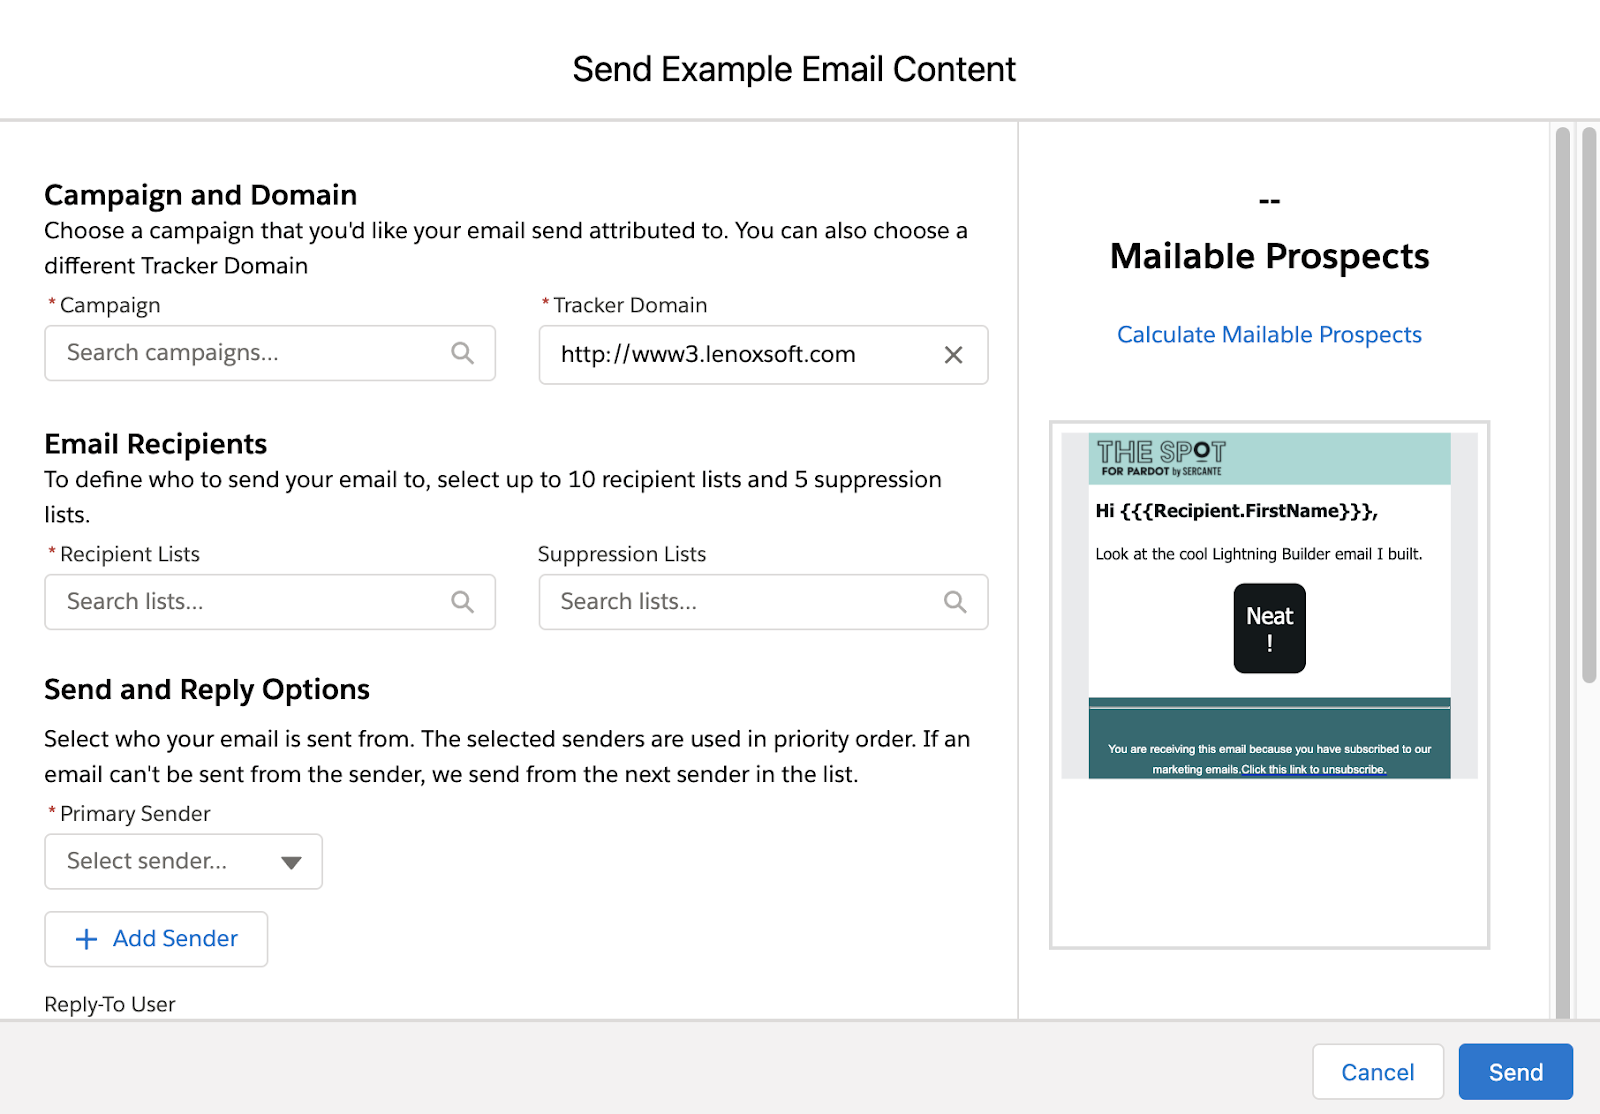
If you are using multiple Pardot Business units, make sure you are logged into the correct business unit before clicking the Send option. The business unit you are logged into will affect the Campaigns and Tracker Domains available on this screen.
After you select your recipient list(s) and (optional) suppression list(s), click Calculate Mailable Prospects to get a count of how many Prospects match your Email Recipient selections.
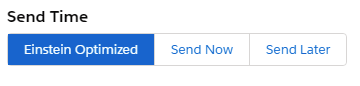
If Einstein Send Time Optimization is enabled, this option will appear under Send Time. If this is not enabled, you will only see Send Now and Send Later.
Or

Activating for automation
If you’d like to use your Email Content in an ESP, select Activate for Automation. This is also found within the Email Content view on the upper right-hand side.
Once activated, your Email Content will be available to add to a Send Email action in an ESP (example below), as an autoresponder in a completion action, or as a Salesforce Engage template.

If you later update the Email Content, you must re-activate it for automation to apply the changes. When doing so, Salesforce will list anywhere the Email Content is in use and confirm you would like to overwrite it with the changes.
Should you start using the Lightning Email Builder now?
Well, it depends. While the Lightning Email Builder has a lot of great features that make it easy to build beautiful emails, there are still a few missing features that may hold some users back. One of my personal drawbacks to the Lightning Email Builder is the inability to enforce or pre-populate brand standards. You can build Custom Components that are properly branded so users don’t have to start from scratch, but there is nothing stopping them from changing the styling (however, a more uniform way to style Lightning Builder emails is rumored to be on the current roadmap). Email Content and Email Templates also cannot be used as “true” templates in the classic builder or as autoresponder emails, so the Lightning Email Builder cannot entirely replace the classic builder quite yet.
If your org is brand new to Pardot and/or you have a smaller team of HTML and design savvy users building your emails, you’re probably better suited to start using the Lightning Builder now. If you have a large team with strict brand standards and users with a wide variety of HTML and design skills, you’ll likely need to take a slower approach to start. However, I’d recommend rolling the Lightning Builder out to your power users and have them start getting familiar with the intricacies of the builder. The Lightning Email Builder is only going to get better from here, so you will absolutely want to use it, eventually.
Let us know what you think about the Lightning Email Builder and your plans for using the new builder in the comments!