

Step 1: Create a layout template
By default, the unsubscribe page uses the “Standard” layout template. You can edit the “Standard” template or create a brand new layout template. I recommend creating a brand new layout template that’s only used for the unsubscribe page.
Create a new layout template (Marketing > Landing Page > Layout Templates > New Layout Template). Name the template something descriptive, I’ve named mine “Unsubscribe Template” and paste your HTML into the template. Add the tag %%content%% where you want the unsubscribe text and button to appear.

Here’s what my HTML looks like:
%%title%%  %%Content%%
Step 2: Add CSS styles for the unsusbcribe form
Next, add some CSS to your page to style the unsubscribe form. By default, there’s a 160px margin to the left of the re-subscribe button. To get rid of this you can add this CSS to your layout template:
body form.form p.submit {
    margin-left:0;
}
You might also want to style the button and the text within the unsubscribe page. I’ve added the following styles for the button:
body form.form p.submit input {
    background:#56CFD2;
    color:#FFF;
    border:0;
    padding:10px 35px;
    font-style: normal;
    font-weight: 800;
    text-transform: uppercase;
    line-height: 1.6923em;
    letter-spacing: 2px;
    cursor:pointer;
}
body form.form p.submit input:hover {
    background: #4ebfc2;
}
And finally, you can add some CSS to modify the rest of the text on the page
body form.form {
    line-height: 1.6923em;
    font-size:14px;
    color:#868686;
}
My full HTML and CSS looks like this:
%%title%%
%%Content%%
Step 3: Edit the unsubscribe page
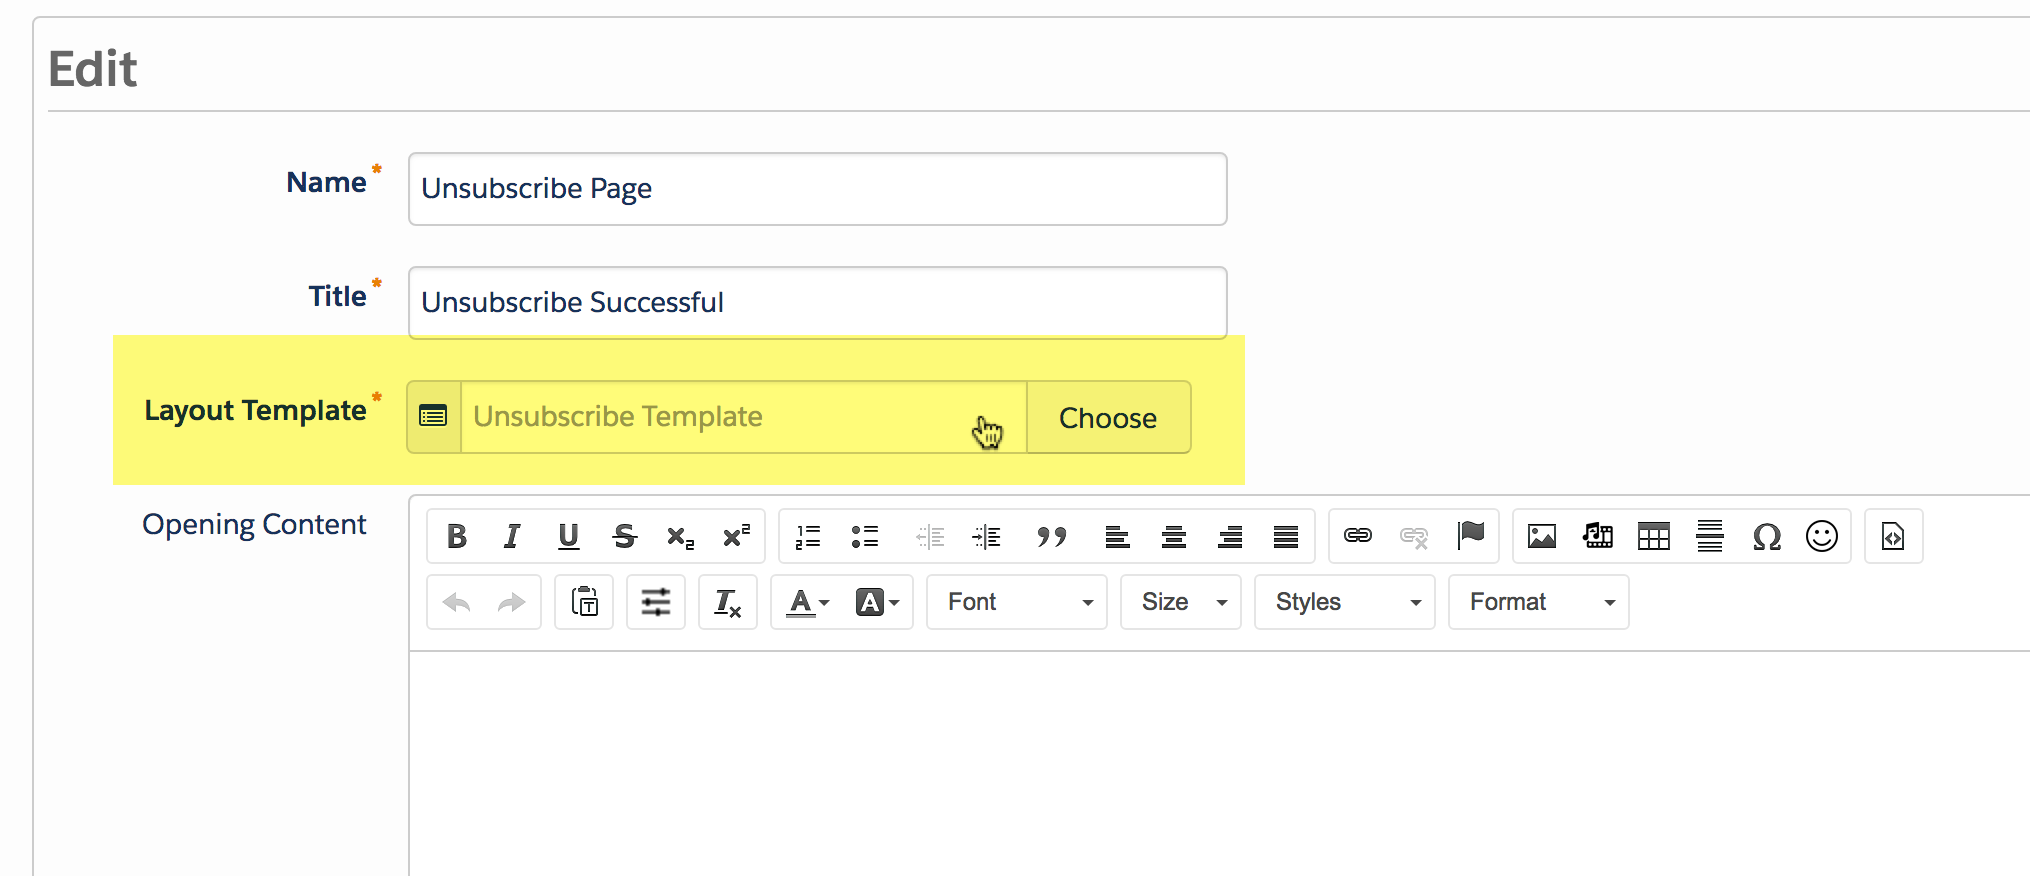
Once your page layout is ready, edit the unsubscribe page to push it live. To do this, navigate to Marketing > Emails > Unsubscribe Page, click edit and update the layout template.
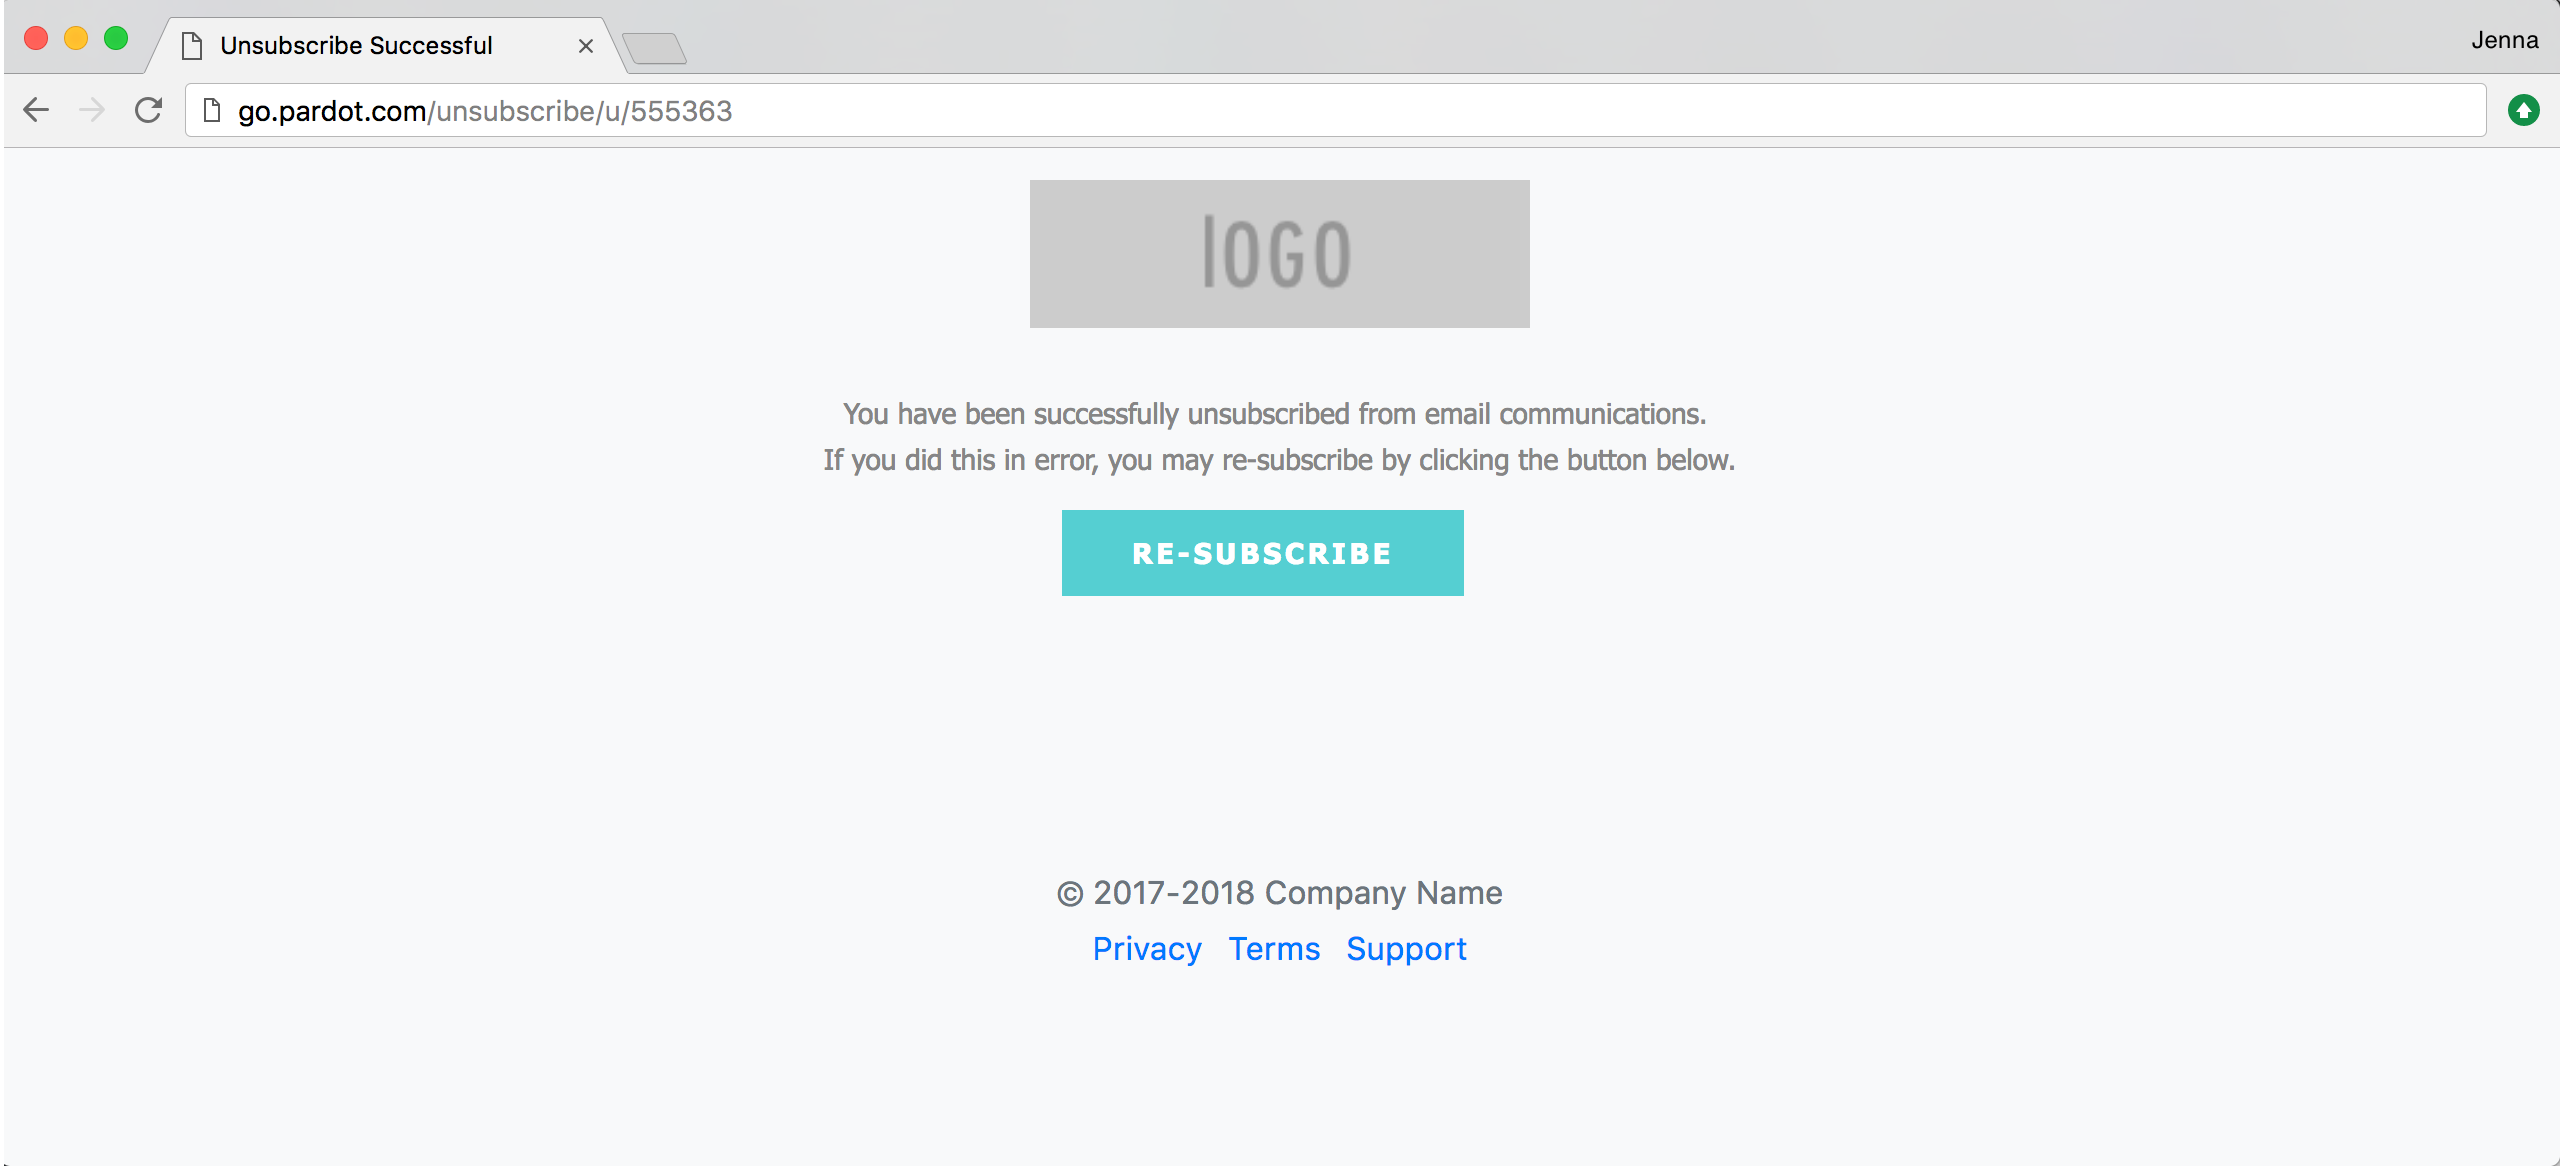
Here’s what my finished unsubscribe page looks like.
Optional: Add your own copy
Optionally, you can update the copy for the unsubscribe text. This can be updated in the layout template under the form tab.
To update the message from “You have been successfully unsubscribed from email communications. If you did this in error, you may re-subscribe by clicking the button below.” to your custom message, replace %%form-before-form-content%% with your custom text.
To update this message “You have successfully resubscribed to email communications.” to your custom message, replace %%form-thank-you-content%% with your custom text.
Questions?
Send me a tweet @jennamolby, leave a comment below, or book a Peer Chat.

31 Comments
Hi Jenna, thanks so much for your advice! Question, is there any way to customize the URL? I couldn’t find any way to change to a vanity URL like in the Email Preferences centre. However, I’ve seen that showing in some examples in the web… How can that be done? Thanks so much!
Hi Paula, Sorry, I haven’t come across a way to change the vanity URL for the unsubscribe page. Perhaps you could use a preferences page instead?
If there was an Oscars for Pardot Jenna, you’re winning it.
This is the 10000th article of yours I’ve used to learn a new thing and delight a client. I used what you shared above to add dynamic content to the unsubscribe page, which translates the content (including the button) to the appropriate language based on the Country field.
Thank you.
Thanks so much for the comment, Lisa! So happy you find my posts helpful 🙂
Hi Lisa, Is it possible to share the link which show you how to add dynamic content to the unsubscribe page, which translate the contente to the appropriate language based on the Contry field?
Thank you!
Hi,
Can we add javascript codes to capture the required event and perform any field updates within the pardot when someone is unsubscribed
Hi Jenna. Just wanted to thank you for pulling this guide together. Probably saved me at least 1-2 hours of work yesterday.
Thank you SO much,
Bryan
Hi Bryan, So happy it helped and was able to save you time 🙂
Hi Jenna! Love your stuff. Is there a way to use Pardot dynamic content for the Submit button and for the Unsubscribe Text?