

In this tutorial, you will learn how to turn any landing page into a Pardot Layout Template that can be used across all your Pardot marketing campaigns. You can use an existing landing page, a free template, a paid template from a marketplace like ThemeForest, or an existing page on your website.
Step 1: Create a new layout template in Pardot
Create a new layout template in Pardot (Content > Layout Template > Add Layout Template). Give your layout template a descriptive name and add your desired tags.
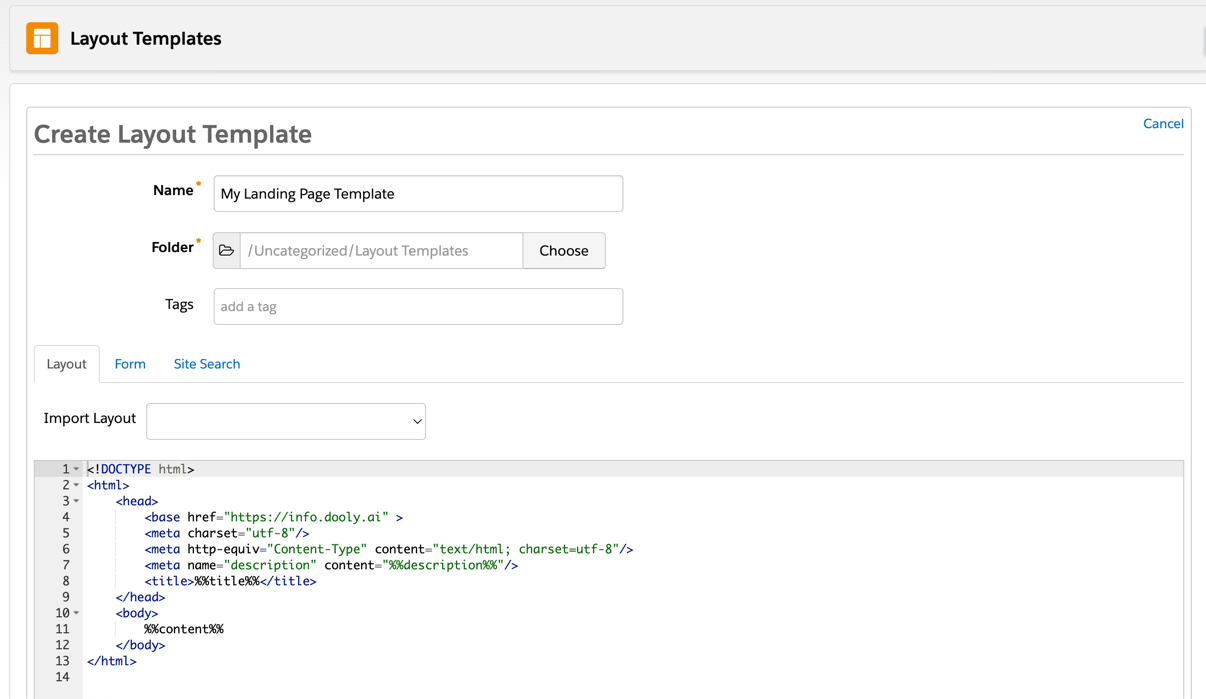
Step 2: Import Your Own Landing Page
For this tutorial I will be using this landing page as an example, but you can follow along with whatever landing page you want.
There are 2 ways you can import your landing page into Pardot
- Copy & pasting the HTML source code directly into the editor
- Using the Import layout from URL option that Pardot offers
Both ways are pretty similar. Let’s break down the 2 ways.
1. Copy & pasting the HTML source code directly into the editor
You can view the source code of the landing page in Chrome by navigating your landing page > right click > view page source. Copy all the code that is there and paste it into your layout template editor.
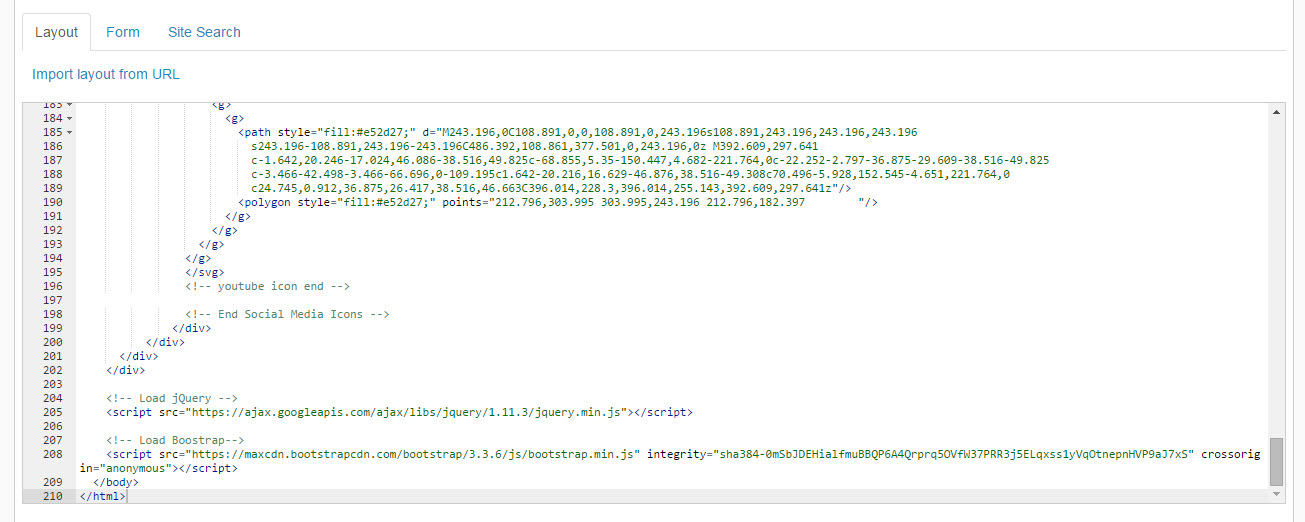
2. Using the Import layout from URL option that Pardot offers
Copy your landing page URL, then navigate to your Pardot layout template. Click on import layout from URL and paste in the landing page URL.
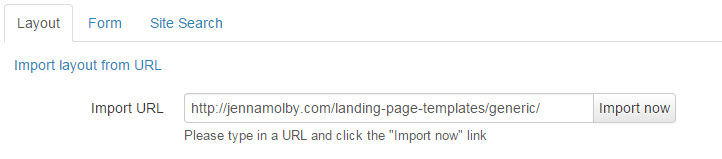
Both ways will give you the same result.
Step 3: Upload Your Images and Files
Now that all the landing page HTML is loaded into Pardot, the images and files linked on the page are not imported yet.
There are a couple different types of files that will need to be imported into Pardot
- All images (.jpg, .gif, .png, etc)
- All CSS files (.css)
- All Javascript files (.js)
In my landing page template there are 3 files that I need to download.
Download these files, if you haven’t already, and save them on your computer. Upload them into Pardot under Content > Files > Add File
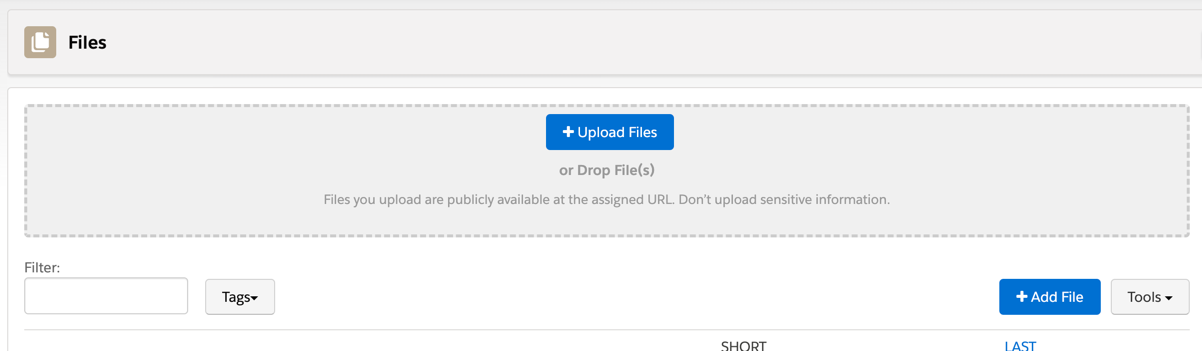
Replace the URL to the old files in your page template by copy and pasting the URL that Pardot generates when you upload the files
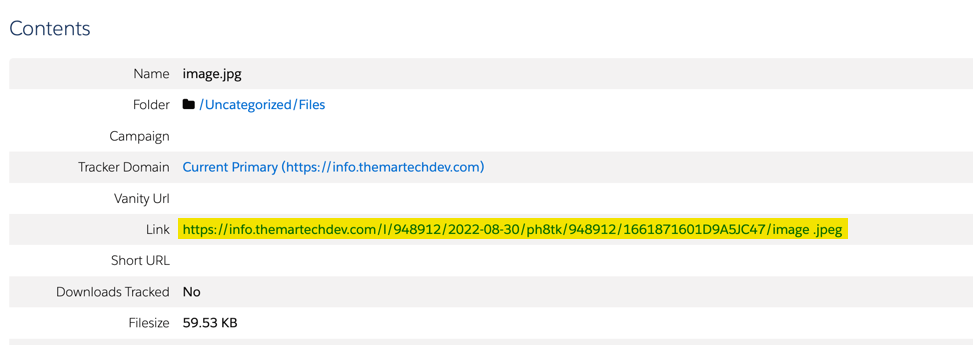
Repeat this process until all your images and files are in Pardot.
Step 4: Create editable Text
The next step is where you choose what content should be editable within the Pardot landing page editor. You can create as many editable sections as you want, but I recommend limiting it so your layout and branding is consistent across all Pardot landing pages. For this example, I’m going to make the main content area editable and the call-to-action title editable as shown below in yellow.
To create an editable section, wrap a DIV around the content like this
For my example, I’m left with this HTML for my main content section
INSERT YOUR HEADLINE HERE
Lorem ipsum dolor sit amet, consectetur adipiscing elit. Duis facilisis elit ex, at condimentum leo varius porttitor. Ut sed malesuada enim. Cras eget tristique diam. Nam eget accumsan sem, eu pulvinar nisl. Donec quis aliquet dolor, quis finibus leo. Fusce commodo enim est, quis porttitor enim molestie vel. Sed quis sapien egestas nulla rutrum accumsan.
-
This is an important point
Nullam eget sapien fringilla, cursus lectus ac, ullamcorper sapien. Cras dolor nisi, blandit venenatis sapien at, elementum luctus arcu. Pellentesque.
-
This is another important point
Donec a diam at quam pellentesque commodo et sed felis. Nulla efficitur erat eu tortor aliquet semper. Vestibulum aliquet sollicitudin dui id cursus metus.
-
This is an important point
Etiam cursus consectetur lacinia. Donec vehicula dui quam, sit amet facilisis felis tincidunt in. Sed ac eleifend velit, sit amet rutrum nullam.
And my call-to-action title looks like this
CALL TO ACTION TITLE
Repeat this process for all the sections you want to make editable.
Step 5: Add the Form
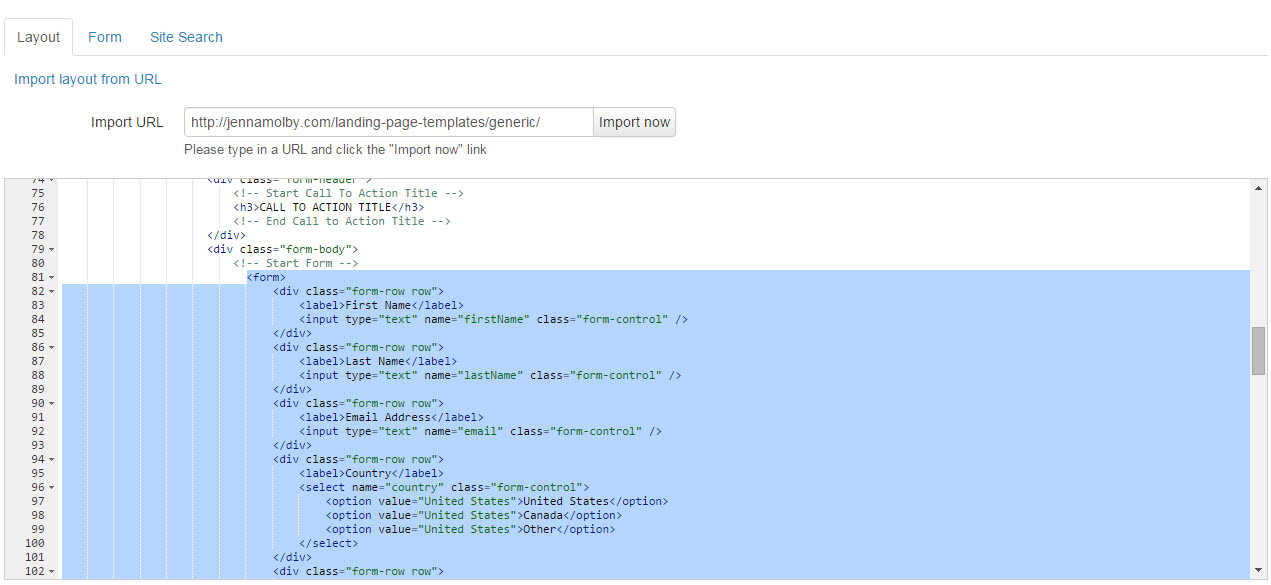
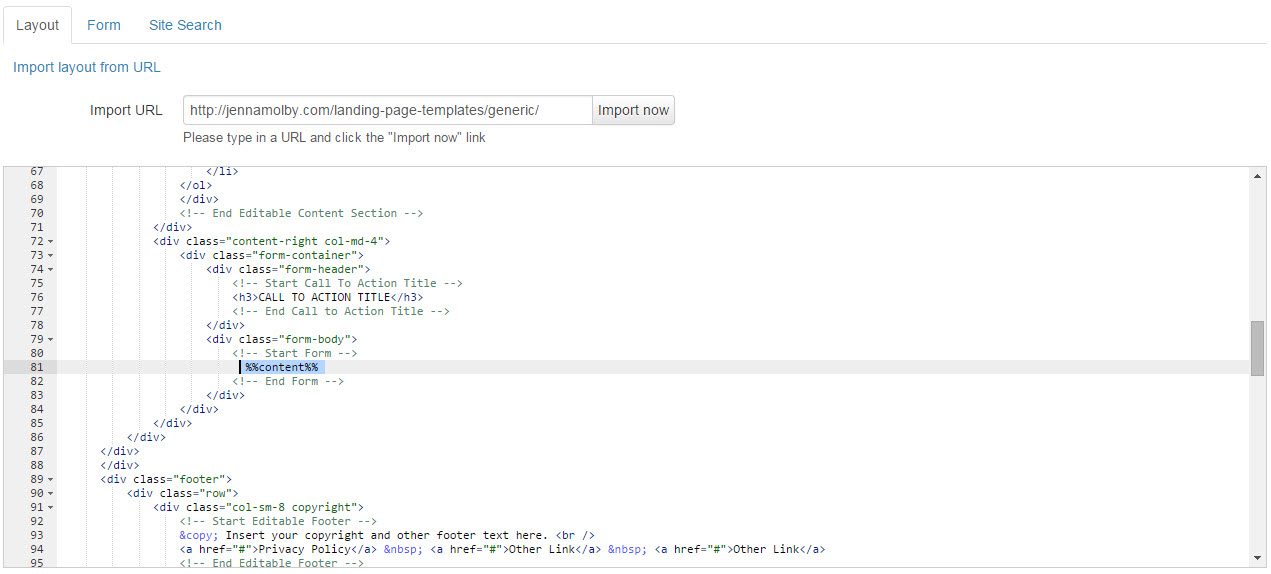
If you want to have the ability to add a Pardot form on the page, you will need to add this tag to your page where you want the form to go.
%%content%%
Step 6: Edit the Title
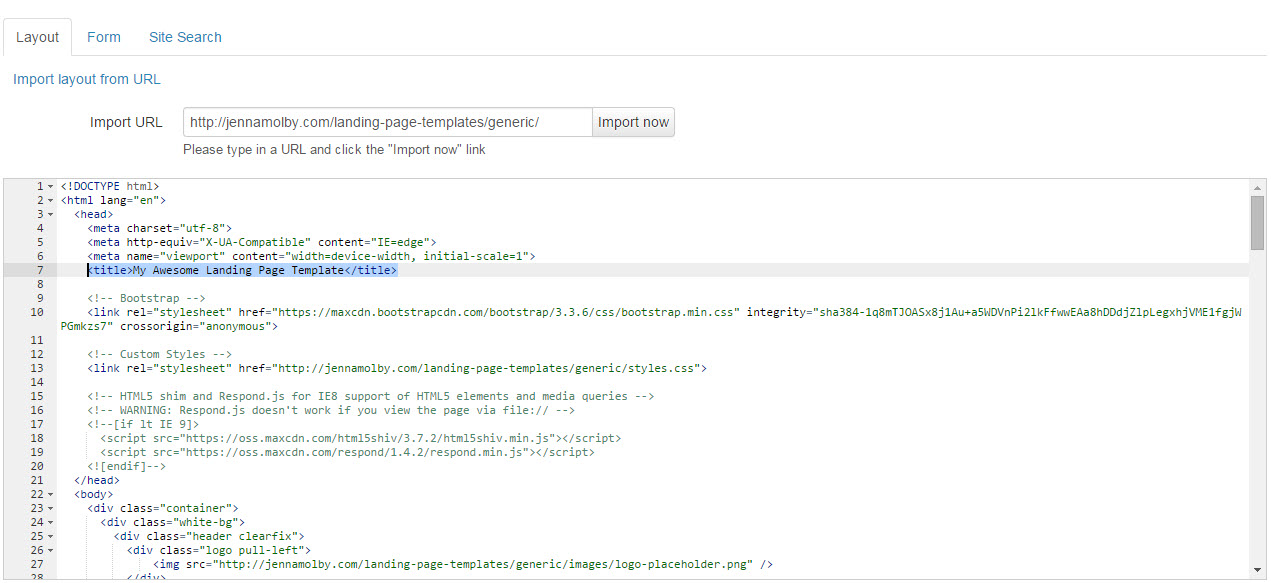
Lastly, replace the title in the HTML of your template to this to dynamically display the name of the landing page in the browser.
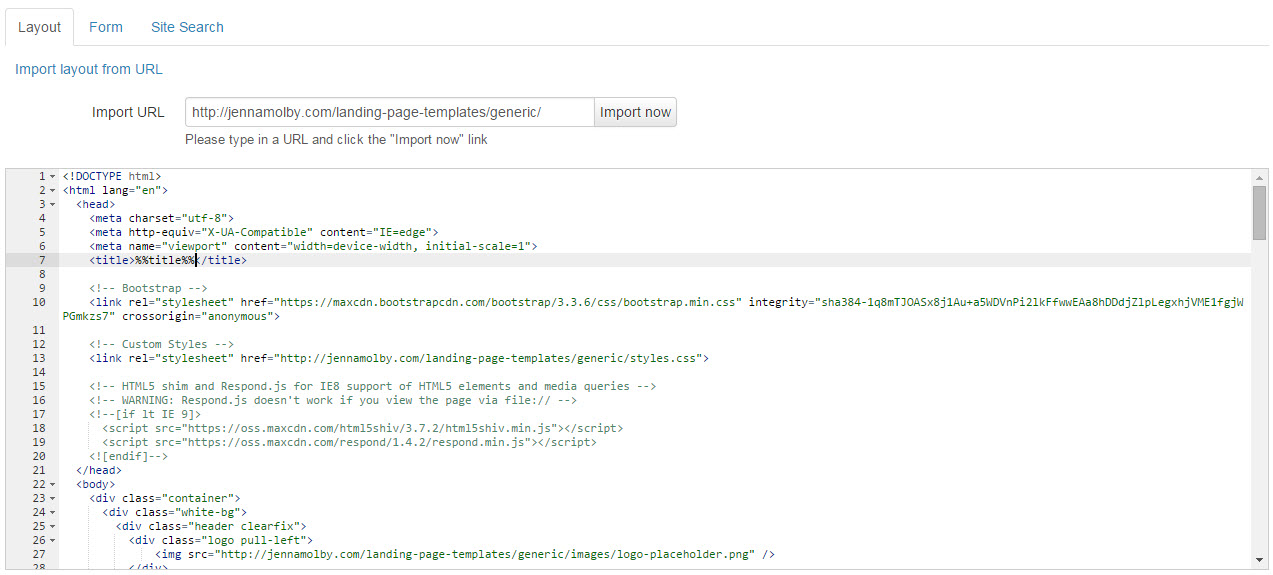
Testing
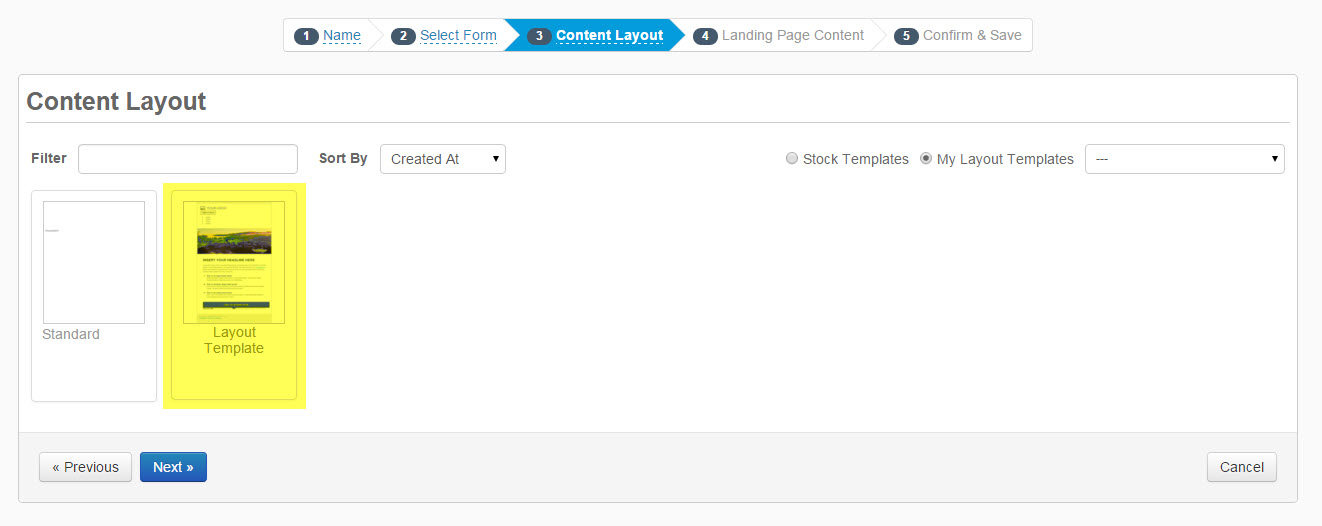
Create a landing page to test your new Pardot layout template by going to Content > Landing Pages > New Landing Page and select the new page template.
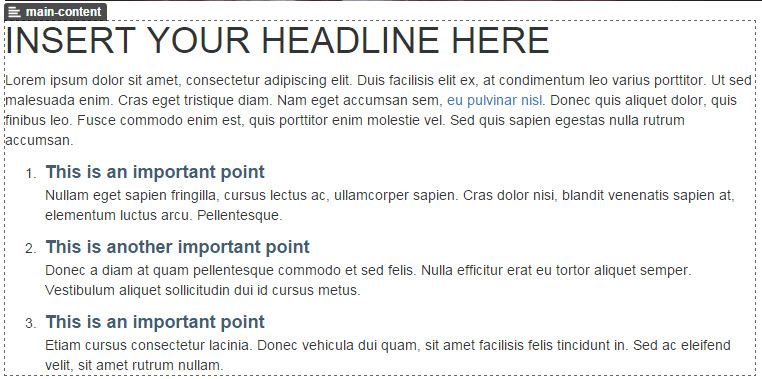
If you have setup the Pardot editable regions correctly, you should see a dotted box around everything that is editable.
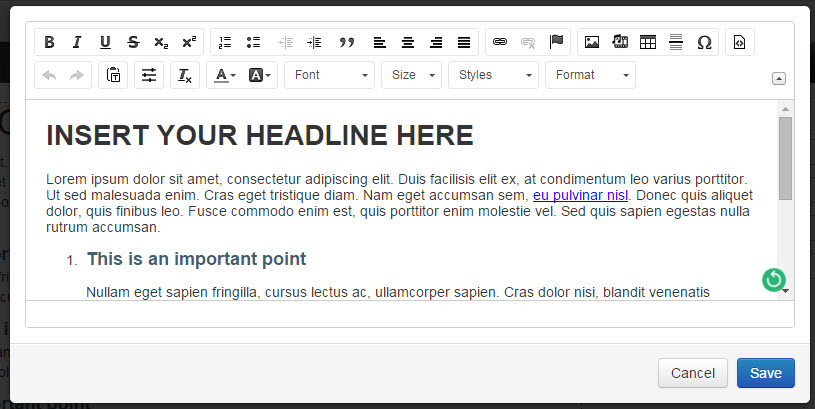
If you double-click into the editable section to make sure the WYSIWYG editor pops up.
My Final Code
Here’s a peak at my final code after turning my sample landing page into a Pardot layout template.


INSERT YOUR HEADLINE HERE
Lorem ipsum dolor sit amet, consectetur adipiscing elit. Duis facilisis elit ex, at condimentum leo varius porttitor. Ut sed malesuada enim. Cras eget tristique diam. Nam eget accumsan sem, eu pulvinar nisl. Donec quis aliquet dolor, quis finibus leo. Fusce commodo enim est, quis porttitor enim molestie vel. Sed quis sapien egestas nulla rutrum accumsan.
-
This is an important point
Nullam eget sapien fringilla, cursus lectus ac, ullamcorper sapien. Cras dolor nisi, blandit venenatis sapien at, elementum luctus arcu. Pellentesque.
-
This is another important point
Donec a diam at quam pellentesque commodo et sed felis. Nulla efficitur erat eu tortor aliquet semper. Vestibulum aliquet sollicitudin dui id cursus metus.
-
This is an important point
Etiam cursus consectetur lacinia. Donec vehicula dui quam, sit amet facilisis felis tincidunt in. Sed ac eleifend velit, sit amet rutrum nullam.
CALL TO ACTION TITLE



41 Comments
I know how to create a landing page professionally but don’t know convert to a pardot layout template. Your direction helps us to create this template successfully as my background is developing.
Hello Jenna,
Thanks to your article I’ve successfully finished demanding job for my client. Thank you for generously gifted knowledge.
So happy you found it helpful!
Thank you so much! This has been SO helpful. Is there a way to make the featured image editable as well?
Thanks you for your help!
Hi Kelsey, Glad you found it helpful! To make the featured image editable as well, you can wrap the image in a DIV tag like this
.
Hi Jenna,
Can you show the example of how to make the image editable? I know you said to wrap the div code around the image, but I would like to see what it looks like.
Thanks!!
Hi Laura, Here’s an example of an editable image. <div pardot-region=”featured-image” > <img src=”http://go.pardot.com/my/path/feature_image.jpg” / > </div> Let me know if you have any questions. Thanks!
Great! Thanks! This site is very helpful!
Hi Jenna,
This has helped so much! Thank you! I am using an HTML template from Themeforest for my Pardot landing page – it is working perfectly using your method, except the font awesome icons are not displaying correctly.
Do you have any idea how to fix this?
Hi Natalie, So happy you found it helpful! Do the font awesome icons show up when you view the live page? You might need to open the CSS file (font-awesome.css) and update the links to the Pardot version of the font files ex. src: url(‘../fonts/fontawesome-webfont.eot?v=4.6.3’);. This should be the first couple of lines in the file.
Hi Jenna,
Thank you so much for your response. It still doesn’t seem to be working – I have included the correct path to the font files in the font-awesome.css file, but the icons are still not showing up. Not sure if I am doing something wrong.
Path is http://www.domain.co.za/cqs-cloud-sec/vendor/font-awesome/fonts/fontawesome-webfont.eot?v=4.6.3
Is that right?
Hi Natalie, Feel free to email me your landing page URL to [email protected] and I can help you troubleshoot 🙂
This works perfect, thanks a lot! My only problem now is that I’d like my custom Pardot form to have the responsive look as well, but the I cant get the css styles to work here. Would you have any ideas on how to fix that? Thanks, Jaap
Hello! Glad you found my post helpful! If you are having trouble styling your forms, check out my Pardot Form Style Generator (https://jennamolby.com/pardot-form-style-generator/) which will take the Pardot’s default styles and allow you to customize them.
Thanks Jenna! Worked again :-).