


Refreshed and republished on April 3, 2021
This post was originally published on December 11, 2018 and has been revamped and updated for accuracy and comprehensiveness.Your Pardot forms don’t have to be boring. With a little extra CSS you can create beautiful Pardot forms with customized checkboxes and radio buttons. In this tutorial, I’ll show you how you can style checkboxes and radio buttons within Pardot forms with minimal coding.
Before we begin…
Let’s refresh on how to add custom CSS to your Pardot forms.
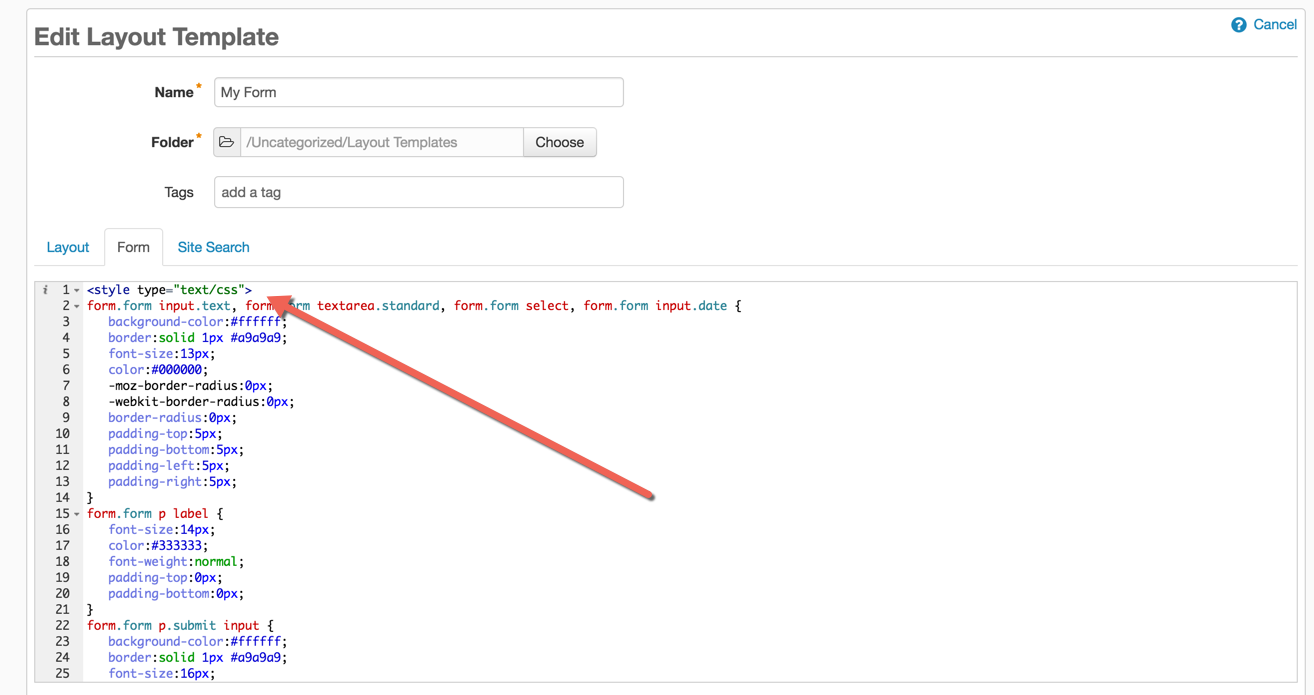
Navigate to Marketing > Forms > Layout Templates and select the layout to add the form styles to. Paste the CSS right above the existing code of the Form tab and save.
Styling Checkboxes
One of the downsides of using Pardot forms is the inability to modify the HTML structure of the form, so I will be leveraging the standard Pardot HTML to style the checkboxes.
The HTML
The standard HTML for a checkbox in a Pardot form looks like this:
Notice how the all the checkboxes are wrapped in a paragraph tag with the class pd-checkbox? This is how we will target the checkbox input and the checkbox label within the CSS.
The CSS
For the CSS, the default checkbox will be hidden and the ::before selector will be used to style the new checkbox.
The Result
The styled checkboxes will look like this once the CSS has been added to the Pardot form.
See the Pen Pardot Customized Checkboxes Using CSS (option 1) by Jenna Molby (@jennamolby) on CodePen.
Styling Radio Buttons
Styling radio buttons are pretty similar to the checkboxes, but with a bit of extra CSS to make them look like a radio button. Just like the checkboxes, we will leverage the HTML that Pardot provides, so all you have to do is add some CSS.
The HTML
All radio buttons in the Pardot form are wrapped in a paragraph tag with the class pd-radio. This is how we will target the radio input and the radio label within the CSS.
The CSS
Just like the CSS for the checkboxes, the default radio button will be hidden.
The Result
See the Pen Pardot Customized Radio Buttons Using CSS (option 1) by Jenna Molby (@jennamolby) on CodePen.
Questions?
Send me a tweet @jennamolby, leave a comment below, or book a Peer Chat.

37 Comments
Hi Jenna, I added the checkbox CSS in the right spot, but my boxes are still center-aligned. Can you help?
Hi Lisa, DM me the link to your page and I can take a look.
Hi Jenna,
Is there a possibility to choose multiple radio buttons (multi selection)?
Hi Karin, no with radio buttons you can only select one.
Jenna, how can we center the radio button circle (selected). It is currently showing off center lower within the larger circle.
Hi Tony, You can adjust the margin in this section #pardot-form .pd-radio input+label:before.
Hi Jenna,
Pardot newbie here. How can I adjust the form HTML to the above if I can’t edit the HTML within Pardot forms?
Thanks!
Hi Shawn, You don’t need to modify any HTML. You only need to add the CSS for it to work. The HTML in this post is just to show how the DEFAULT HTML is structured for Pardot forms.
Hi Jenna
Thanks for sharing this. How do you make the options to show as a list and no all in one line? I have a form with a radio button but can’t figure out to show the options as a list.
Hi Maida, If you go into your form, click on the “Look and feel” tab and click on the “styles” tab you will see an option for checkbox alignment. Set this to horizontal.