
In this tutorial, I will show you how to turn the default Pardot email preference page into a preference page that matches your brand. You will learn how to customize everything including the header, footer, form, and text.
Step 1: Create a layout template
By default, the preference page uses the “Standard” layout template. You can edit the “Standard” template or create a brand new layout template. I recommend creating a brand new layout template that’s only used for the email preferences page.
Create a new layout template (Marketing > Landing Page > Layout Templates > New Layout Template) and paste your HTML into the template. Add the tag %%content%% where you want the preference center form to appear.
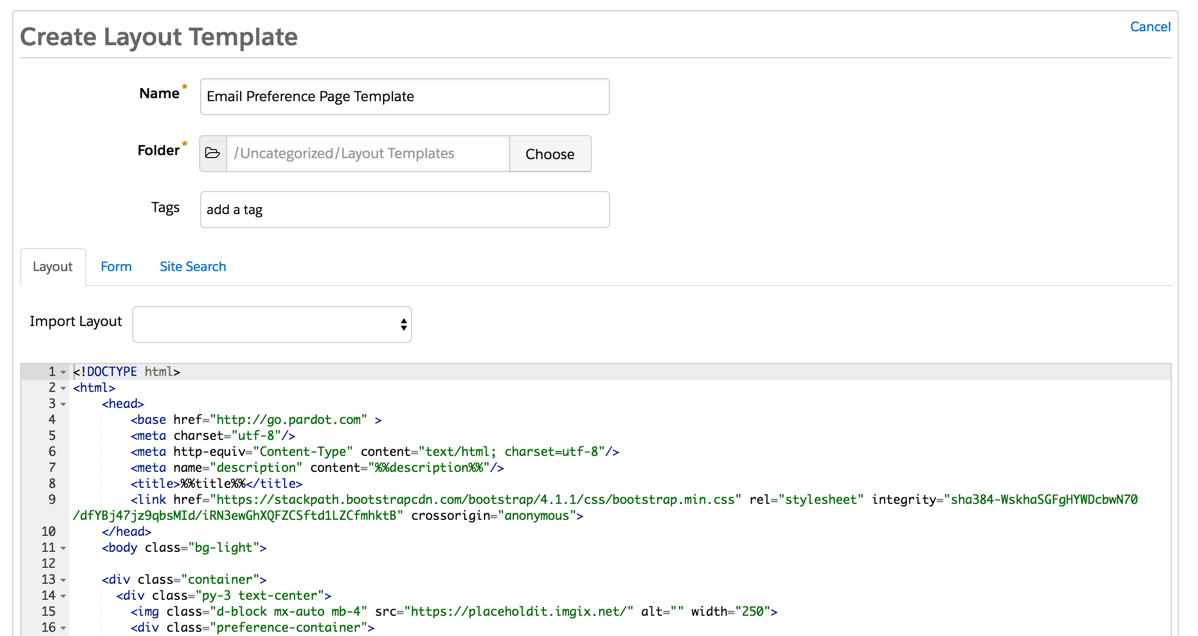
Here’s what my HTML looks like:
%%title%%
 %%Content%%
Step 2: Style the form
The preference page form can be styled as well to match your brand. To style your form, you will need to add some CSS to your layout template.
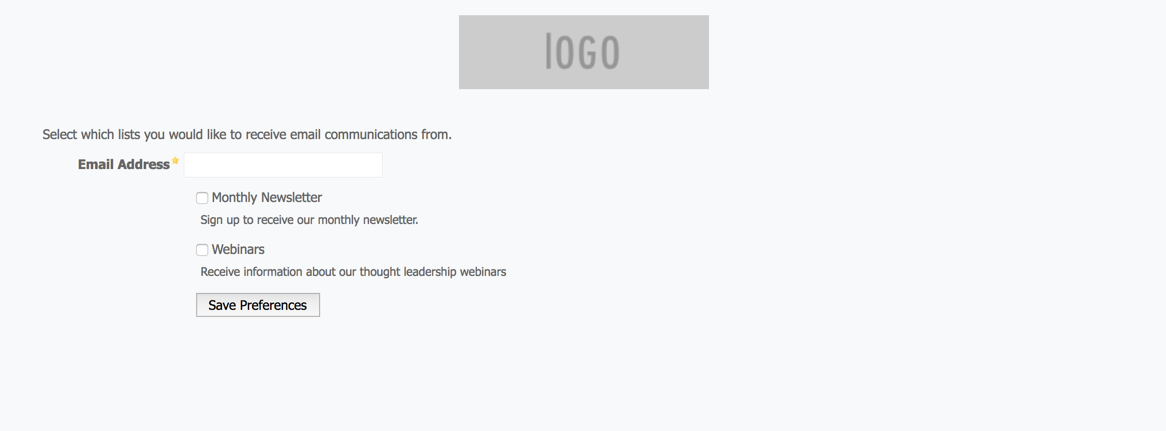
This is what my page looks like without adding any CSS to the form.
You can add whatever styles you want. Here are some elements you might want to style, along with the CSS classes.
Center the form and give it a width
body form.form {
width:100%;
max-width:500px;
margin:0 auto;
}
Remove the left margin from the checkboxes
body form.form p.no-label,
body form.form p.email-pref {
margin-left:0;
}
Change the font color, size, etc of the list name
body form.form p label.inline {
font-size:15px;
color:#5d5c5c;
}
Change the font color, size, etc of the list description
body form.form p.email-pref span.description {
font-size:13px;
color:#7b7a7a;
}
Change the label for “Email address”
body form.form p label {
/* stack the label on top of the form field */
float:none;
text-align:left;
/* label font styling */
font-weight:normal;
font-size:15px;
padding-bottom:5px;
color:#5d5c5c;
}
/* hide the required star */
body form.form p.required label,
body form.form span.required label {
background:none;
}
Add some styling to the “Email address” field
body form.form input.text {
width:100%; /* give it a width to be responsive */
padding:5px;
}
Customize the submit button
/* Submit button properties */
body form.form p.submit input {
background:#56CFD2;
color:#FFF;
border:0;
padding:10px 35px;
font-style: normal;
font-weight: 800;
text-transform: uppercase;
line-height: 1.6923em;
letter-spacing: 2px;
cursor:pointer;
}
/* Submit button hover */
body form.form p.submit input:hover {
background: #4ebfc2;
}
/* the submit button wrapper */
body form.form p.submit {
margin-left:0; /* get rid of the default left margin */
width:100%; /* give it a width in order to center the button */
text-align:center; /* center the button */
}
Applying all the styles left me with this result. Much better, right?
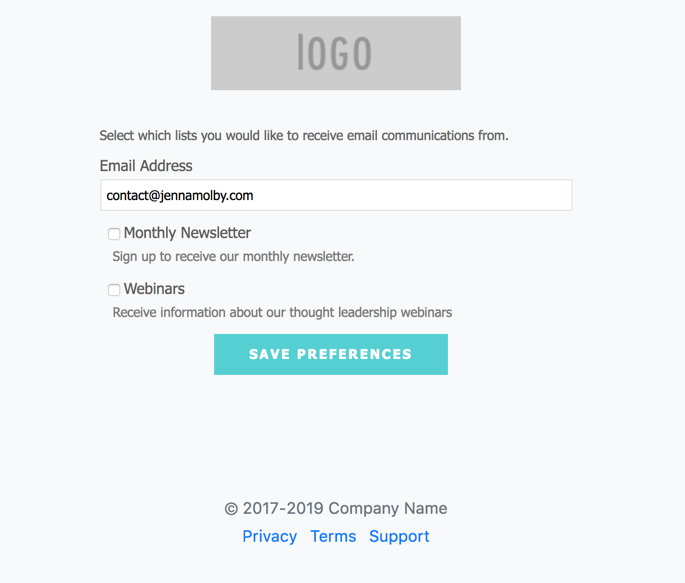
You can also give the checkboxes within your form some flair. Check out my tutorial for creating beautiful checkboxes within Pardot forms.
Here is my finished preference page with the styled checkboxes.

Questions?
Send me a tweet @jennamolby, leave a comment below, or book a Peer Chat.

64 Comments
Thanks for this Jenna. Everything working fine, except that list description is coming in the same line instead of new line. Can you help?
I have the same issue as Ajay. My list descritions are on the same line. Any suggestions would be greatly appreciated.
I asked Jenna on Twitter. She replied….
@jennamolby
Replying to
@JonnieJensen
Hi Jonnie, So happy you found it helpful! To put the description on a different line than the title, add this CSS to the page.
span.description {float:none;display:block;}
Hope that helps Grinning face
This is great! Where do we place the CSS code you note above?
Hello Jenna, Did you know if there is a way to have the public list showed in a specific order in the email preference page ?
By default apparently is alphabetical.
Thanks !
HI Cinzia, No, I have not found a way to specify the order of the preference page, sorry.
I saw a suggestion to label your list with numbers, i.e. 1-Newsletter, 2-etc. Don’t know if that would help.
Hi Jenna and thanks a lot for this post! Could you please clarify whether it’s possible to add other Prospect fields to the Email preference page (Such e.g. Name, Company, etc.) rather than just Email?
Thank you Jenna, this post was super helpful and relevant as we are in the process of designing our email preference page.
Thank you so much for publishing this post and providing all of the css with comments on what the styling does! I had been looking for a way to elevate the look and feel of our preferences page. This was perfect!