


Refreshed and republished on April 3, 2021
This post was originally published on December 11, 2018 and has been revamped and updated for accuracy and comprehensiveness.Your Pardot forms don’t have to be boring. With a little extra CSS you can create beautiful Pardot forms with customized checkboxes and radio buttons. In this tutorial, I’ll show you how you can style checkboxes and radio buttons within Pardot forms with minimal coding.
Before we begin…
Let’s refresh on how to add custom CSS to your Pardot forms.
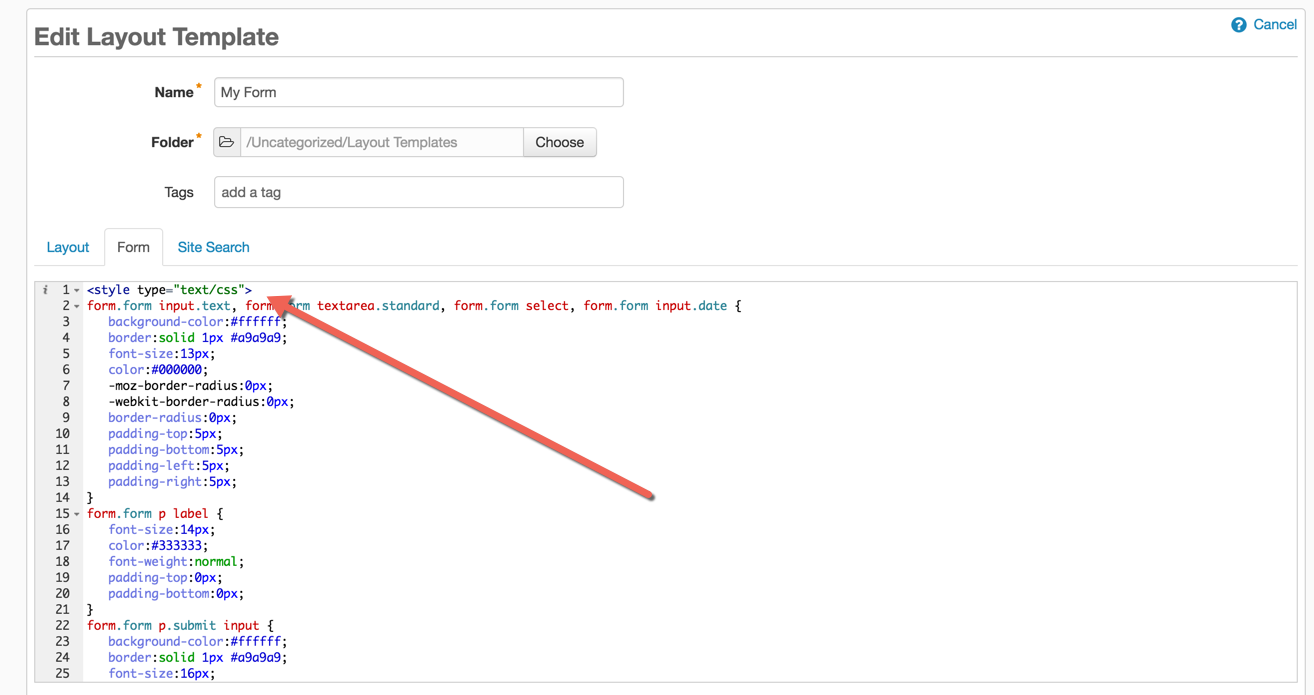
Navigate to Marketing > Forms > Layout Templates and select the layout to add the form styles to. Paste the CSS right above the existing code of the Form tab and save.
Styling Checkboxes
One of the downsides of using Pardot forms is the inability to modify the HTML structure of the form, so I will be leveraging the standard Pardot HTML to style the checkboxes.
The HTML
The standard HTML for a checkbox in a Pardot form looks like this:
Notice how the all the checkboxes are wrapped in a paragraph tag with the class pd-checkbox? This is how we will target the checkbox input and the checkbox label within the CSS.
The CSS
For the CSS, the default checkbox will be hidden and the ::before selector will be used to style the new checkbox.
The Result
The styled checkboxes will look like this once the CSS has been added to the Pardot form.
See the Pen Pardot Customized Checkboxes Using CSS (option 1) by Jenna Molby (@jennamolby) on CodePen.
Styling Radio Buttons
Styling radio buttons are pretty similar to the checkboxes, but with a bit of extra CSS to make them look like a radio button. Just like the checkboxes, we will leverage the HTML that Pardot provides, so all you have to do is add some CSS.
The HTML
All radio buttons in the Pardot form are wrapped in a paragraph tag with the class pd-radio. This is how we will target the radio input and the radio label within the CSS.
The CSS
Just like the CSS for the checkboxes, the default radio button will be hidden.
The Result
See the Pen Pardot Customized Radio Buttons Using CSS (option 1) by Jenna Molby (@jennamolby) on CodePen.
Questions?
Send me a tweet @jennamolby, leave a comment below, or book a Peer Chat.

37 Comments
Hi Jenna,
This was super helpful in customizing my form! Do you know if there is a way to make the checkbox label/question extra bold, and the checkbox options a normal font weight? I have a form with different checkbox sections but they are kind of blending together.
Thank you!
I figured out why the “Uncaught SyntaxError: Invalid or unexpected token” error happens. It’s a simple copy-paste issue. The Quotation marks aren’t correctly formatted after copy-pasting. Remove them and enter them again using your keyboard. That fixes the problem.
Hey Jenna,
I’m having the same issue as Emily mentioned. I’m getting an the console error “Uncaught SyntaxError: Invalid or unexpected token” and my checkboxes don’t prefill. Did you figure out why this is happening?
Thank you very much!
Hi Jenna
I can’t find an answer to this question anywhere online so helping you can help!
I have a Pardot form with a checkbox field so you can select multiple values – in Pardot though only the last choice is being recorded on the Prospect profile – do you know how I can record all of the choices?
Thank you!
Hi Stephen, Make sure the prospect field is set to multi-select within your field settings.
Hi Jenna,
On an iframed embedded form, I’m trying to precheck a checkbox. As recommended, I’ve added this Javascript to my form, in the Look and Feel > Below Form section and added the class of “optin” to the checkbox field.
document.querySelector(“.optin input”).checked = true;
I get this in Console “Uncaught SyntaxError: Invalid or unexpected token”. Am I referencing Javascript incorrectly, or is this not possible on an iframed embedded form? Appreciate any help you can offer!
Hi Emily, that looks correct, however, you would want to make sure that the script is firing on the page load.