

Do you know you can turn any email template into a Pardot email template? With a couple of modifications to the HTML, you can have a fully functional Pardot email template which allows you to remove, edit and duplicate sections. In this tutorial, I will show you how to take any free, responsive email template and turn it into a Pardot email template.
The template
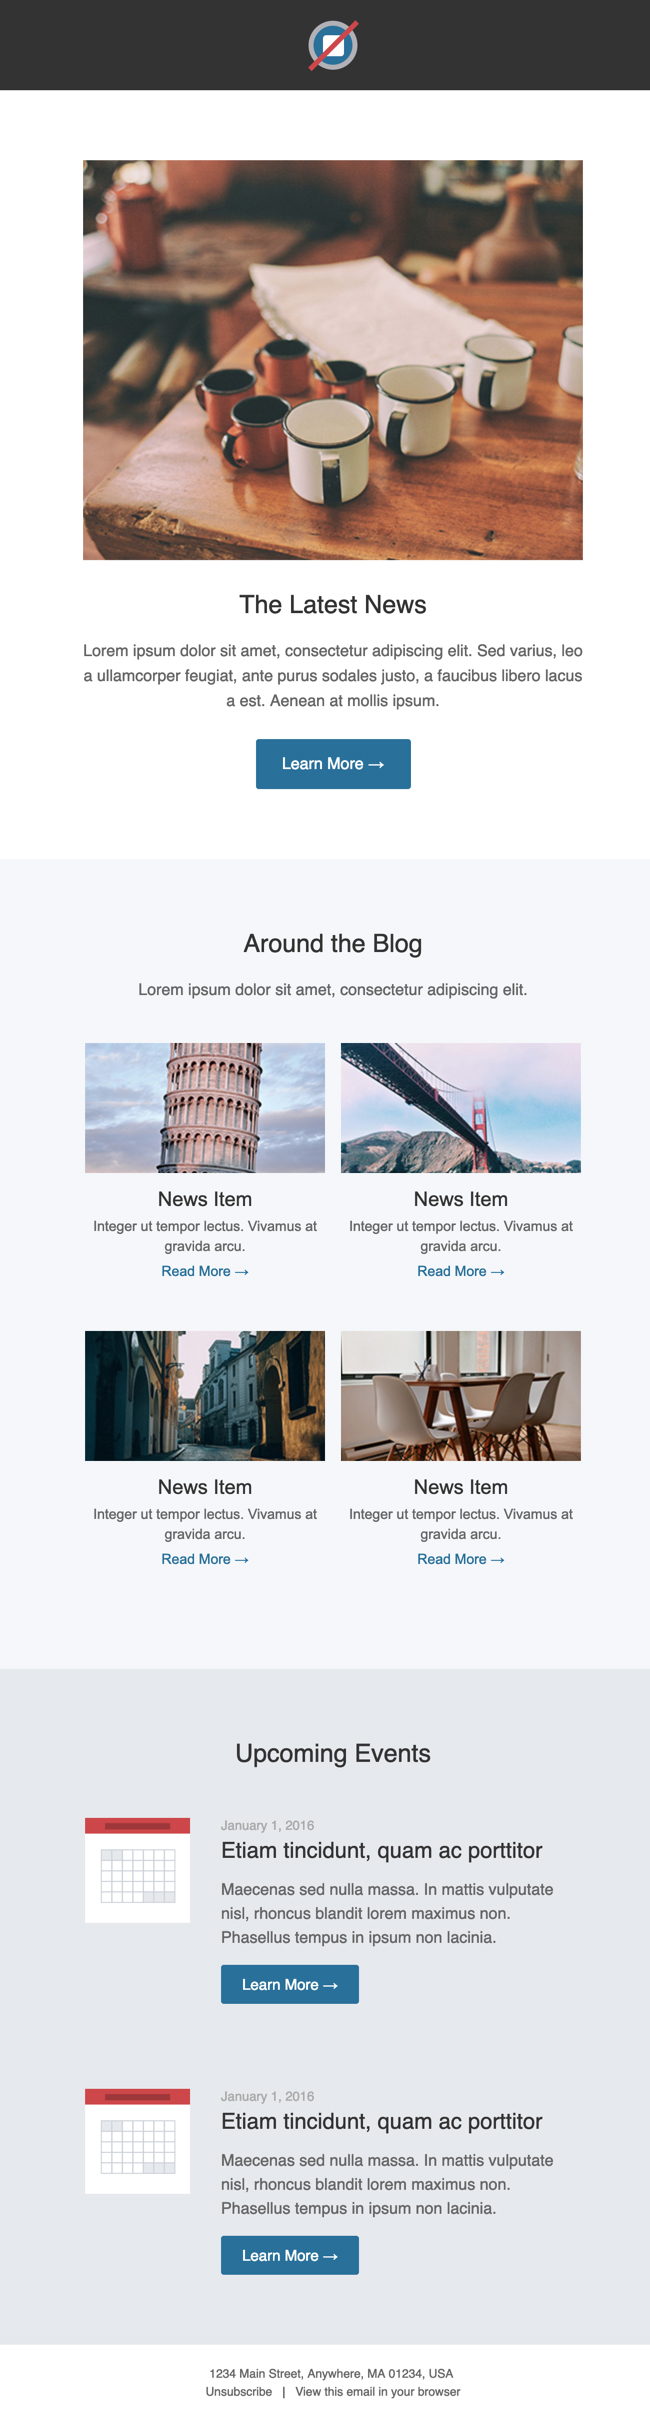
For this tutorial, I decided to go with this free, responsive email template from the folks at Litmus. Here’s what the template looks like:
Create your email template in Pardot
Create a new email template in Pardot by navigating to Marketing > Emails > New Email Template. Enter the required information and click next. When asked to select a layout click skip. Now you should have a brand new email template populated with the default Pardot content.
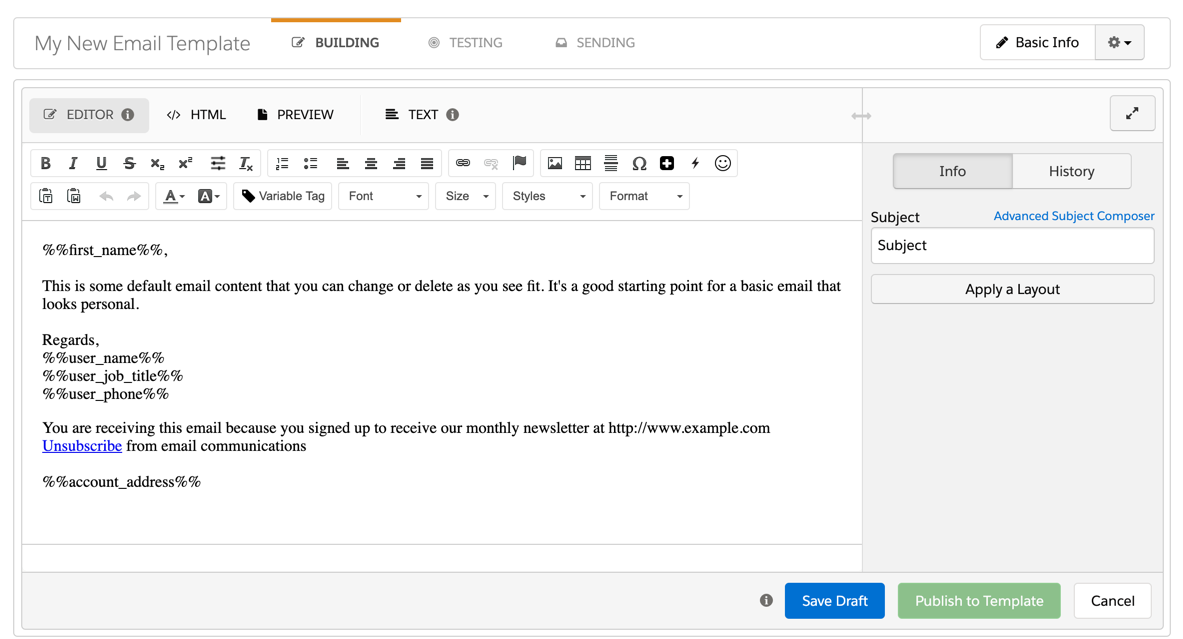
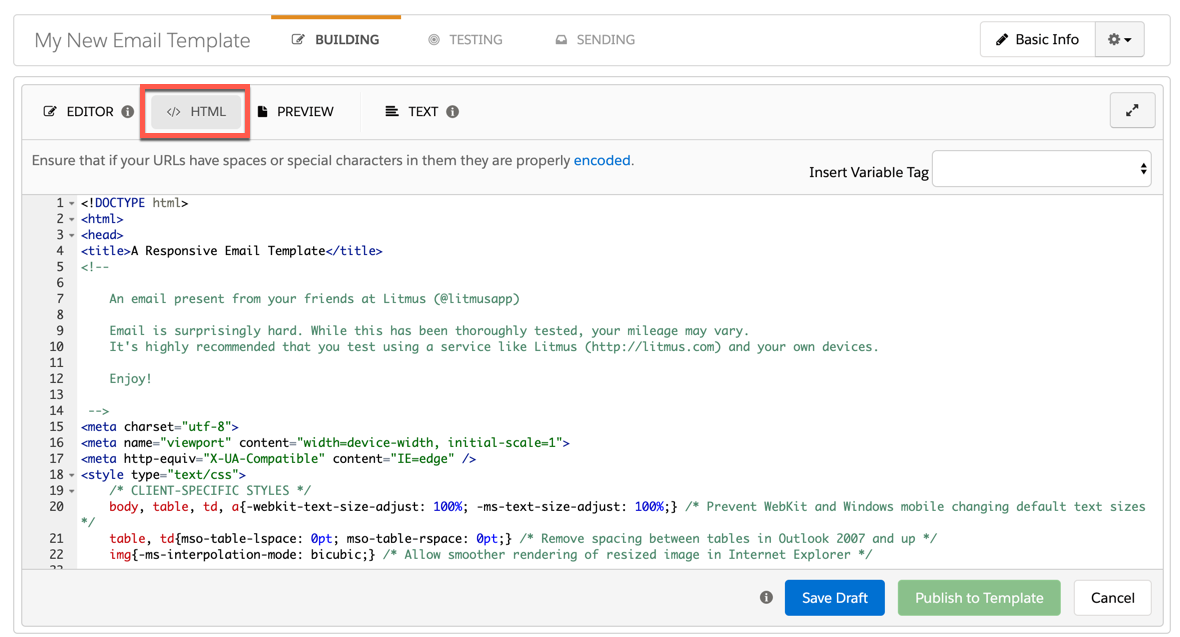
Open the email template you want to use in a text or HTML editor (Notepad works fine too). Copy the HTML and paste it into the HTML tab in the Pardot email editor.
Now if you navigate back to the editor tab to preview your new template, you will probably notice some error messages, broken images, etc. Let’s dive into how to fix those.
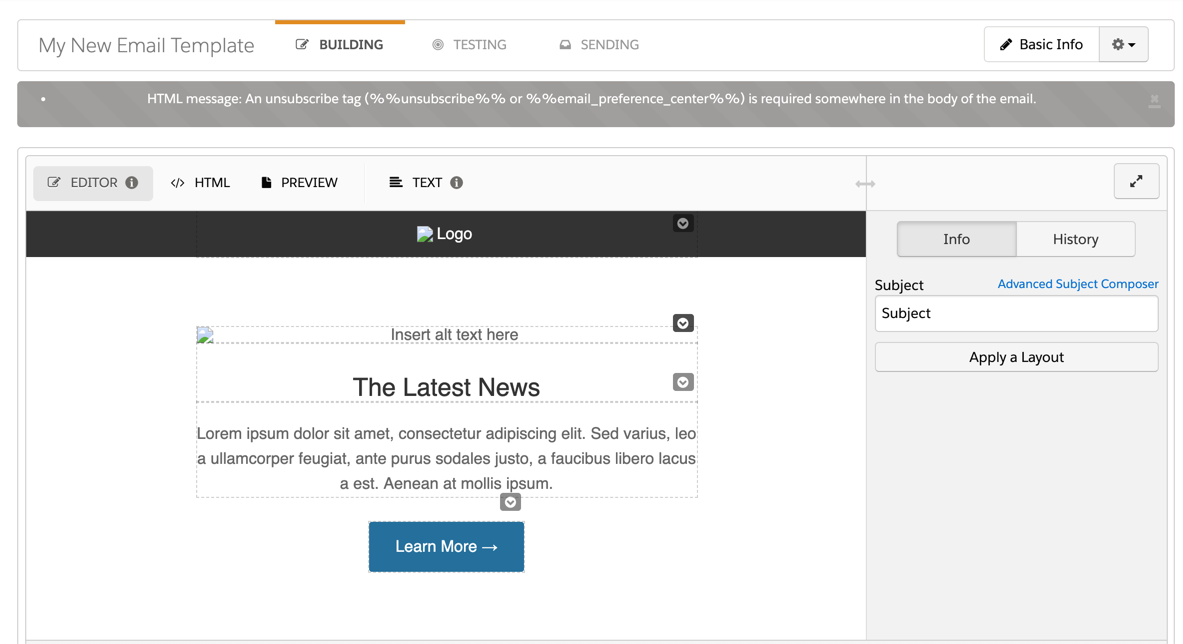
Replace the image paths
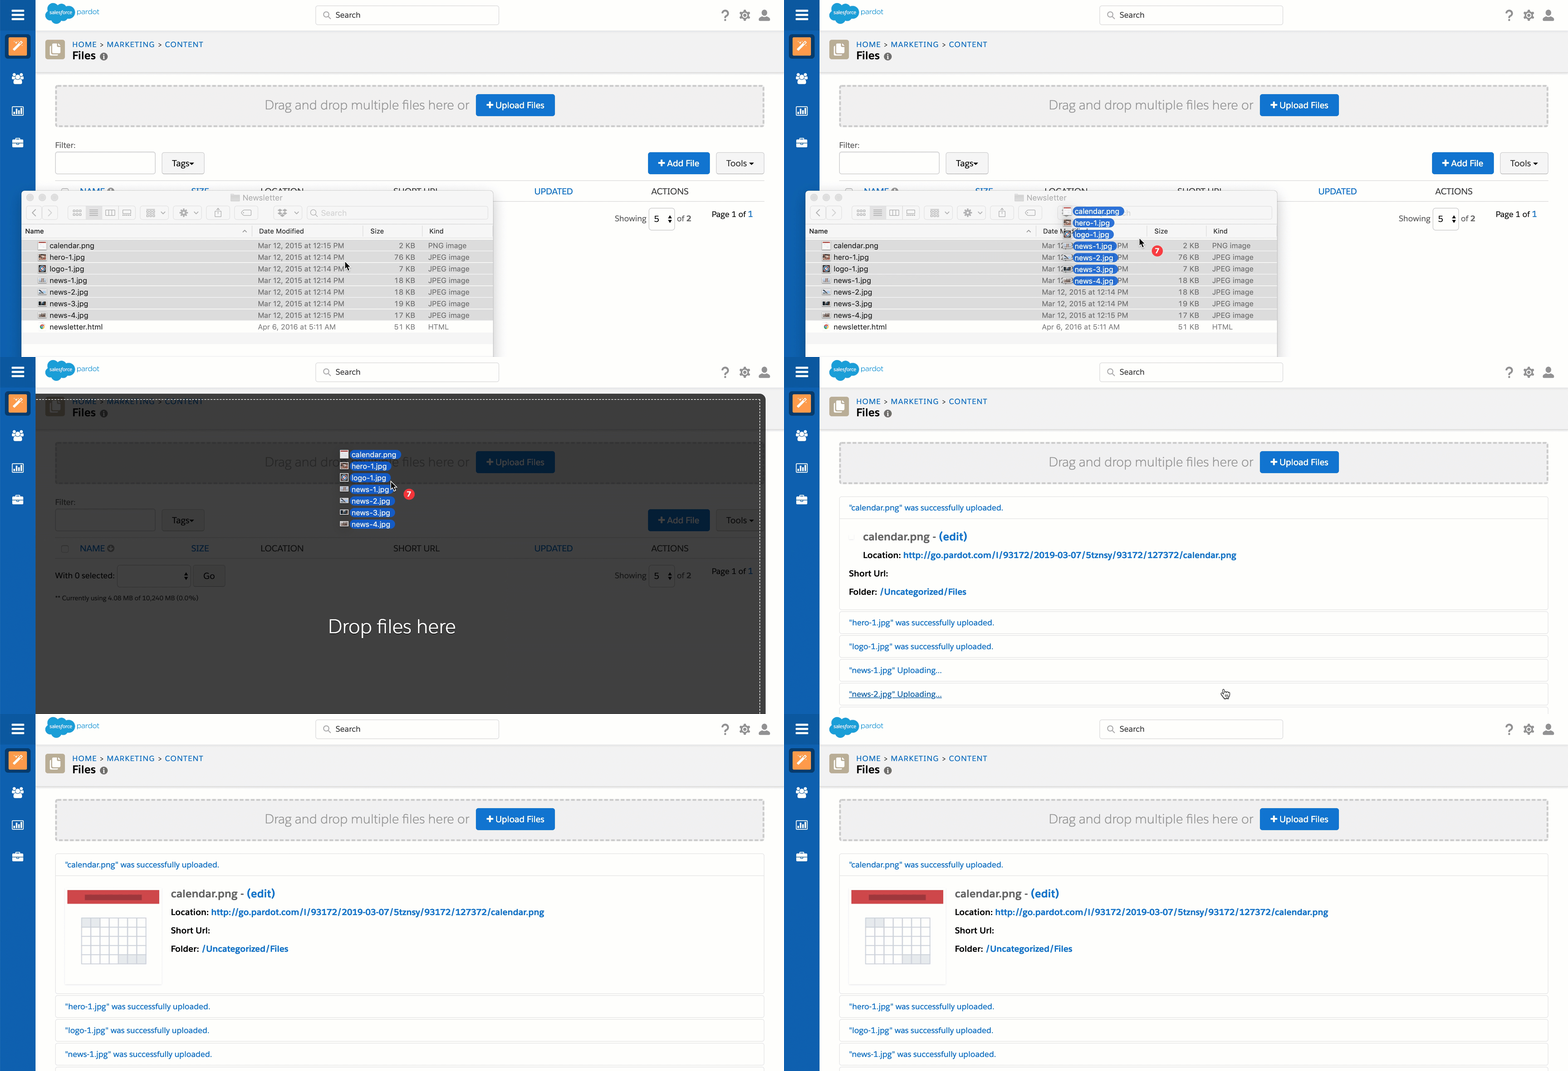
In order for your images to work within the Pardot editor you will need to upload the images to the Pardot content library and replace their paths within the template.
You can replace the image paths in the email editor by selecting on the broken image, clicking on the photo icon and searching for the new image within the Pardot content library.
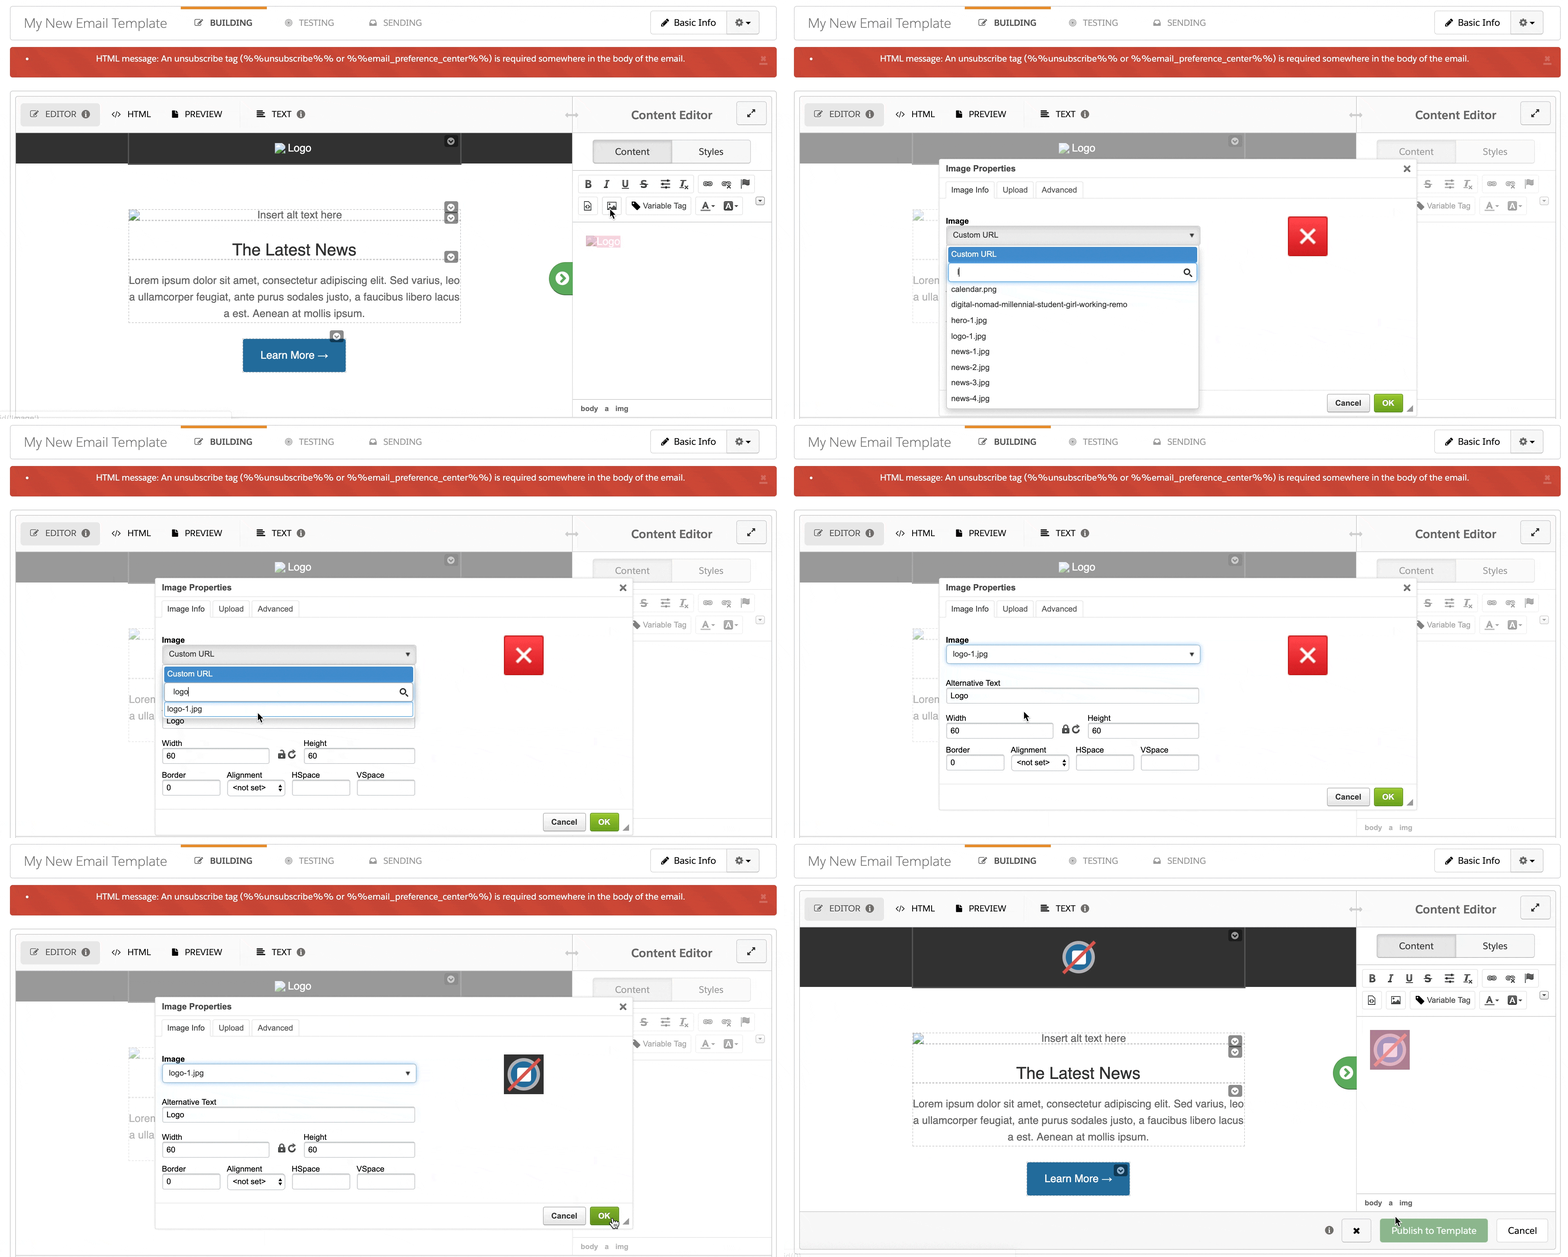
Note: You can also edit the image paths directly in the HTML.
Add the unsubscribe tag
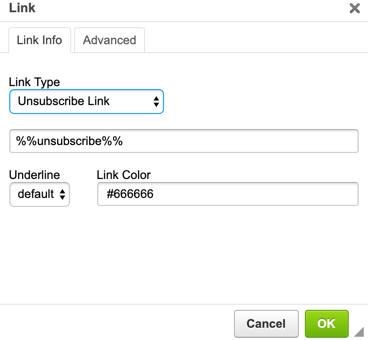
If your template already has a link in the footer for the unsubscribe you will need to modify it to use the Pardot unsubscribe tag. Otherwise, add a link to the footer for the unsubscribe.
Here’s what my template looks like in the editor now.
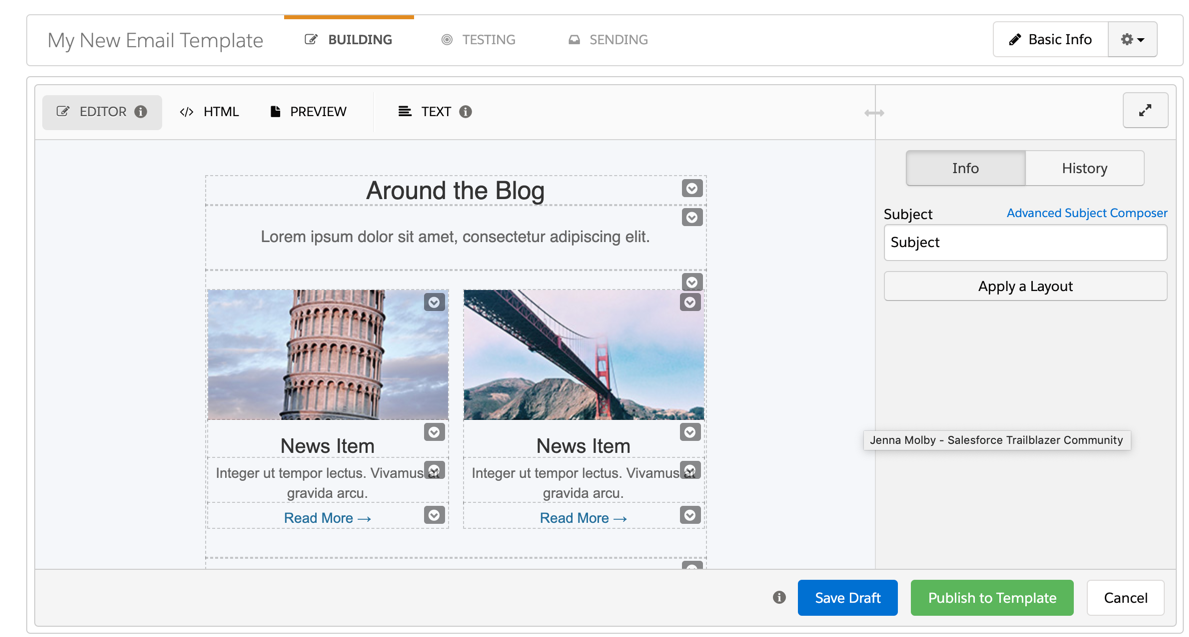
Notice all the dotted lines and arrow icons in the editor?
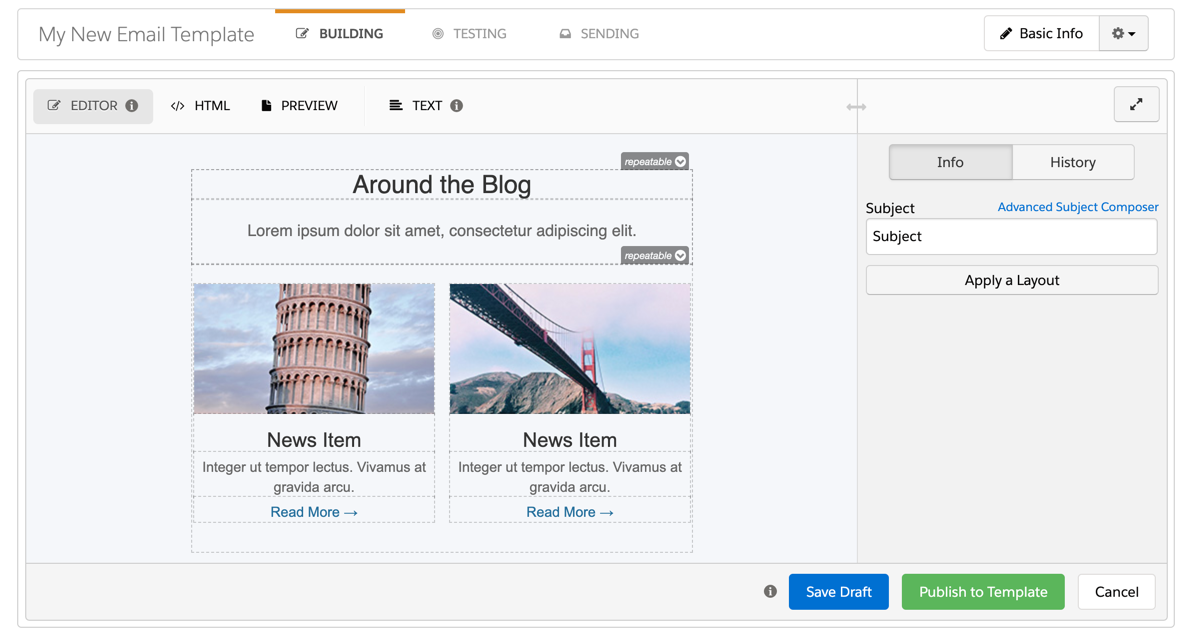
The arrows and the dotted lines within the editor indicate that a section can be edited, duplicated, removed and moved up or down. By default, all table cells within your email have this applied to them. You can choose to leave it that way, but I always recommend “locking down” the template.
“Locking down” email template sections
There are a couple reasons why I recommend “locking down” your email templates:
- Brand consistency: certain elements such as footer, header, etc should not be altered by someone who is using the template.
- Formatting: Sometimes the email editor can strip out some HTML within a template. One way to prevent this from happening is to restrict what can be edited.
Pardot regions
To add section that can be duplicated, removed or reordered can be created by adding this tag to your DIV, TD, TR, or TABLE elements.
pardot-region="my-section"
Alternatively, you can use this syntax for creating a section that is only repeatable
pardot-repeatable="my-section"
Here’s what my template looks like with an editable section. Notice how the rest of the dotted lines and arrows no longer appear? That’s because once you add at least one pardot-region to your email template, it “locks down” the rest of the template.
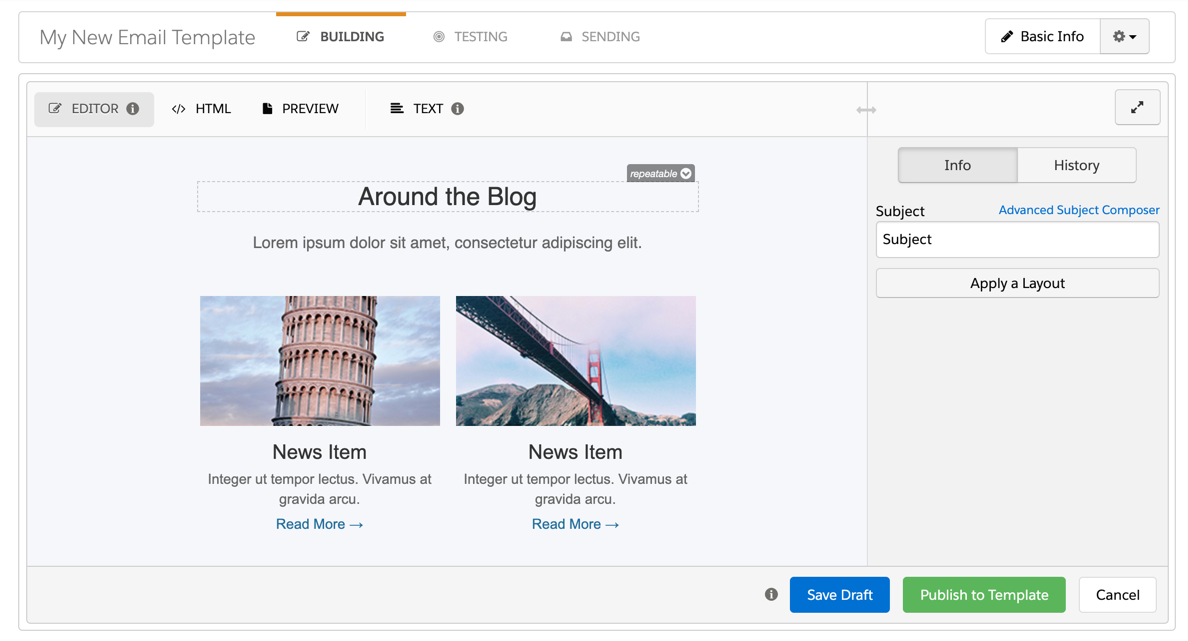
After adding the rest of the editable and repeatable regions to my template, here’s what the blog section looks like.
Here’s what the HTML for the template looks like now with the added regions.
A Responsive Email Template
|
||||||||||||||||||
|
||||||||||||||||||
|
||||||||||||||||||
|
||||||||||||||||||
|
||||||||||||||||||


See it in action
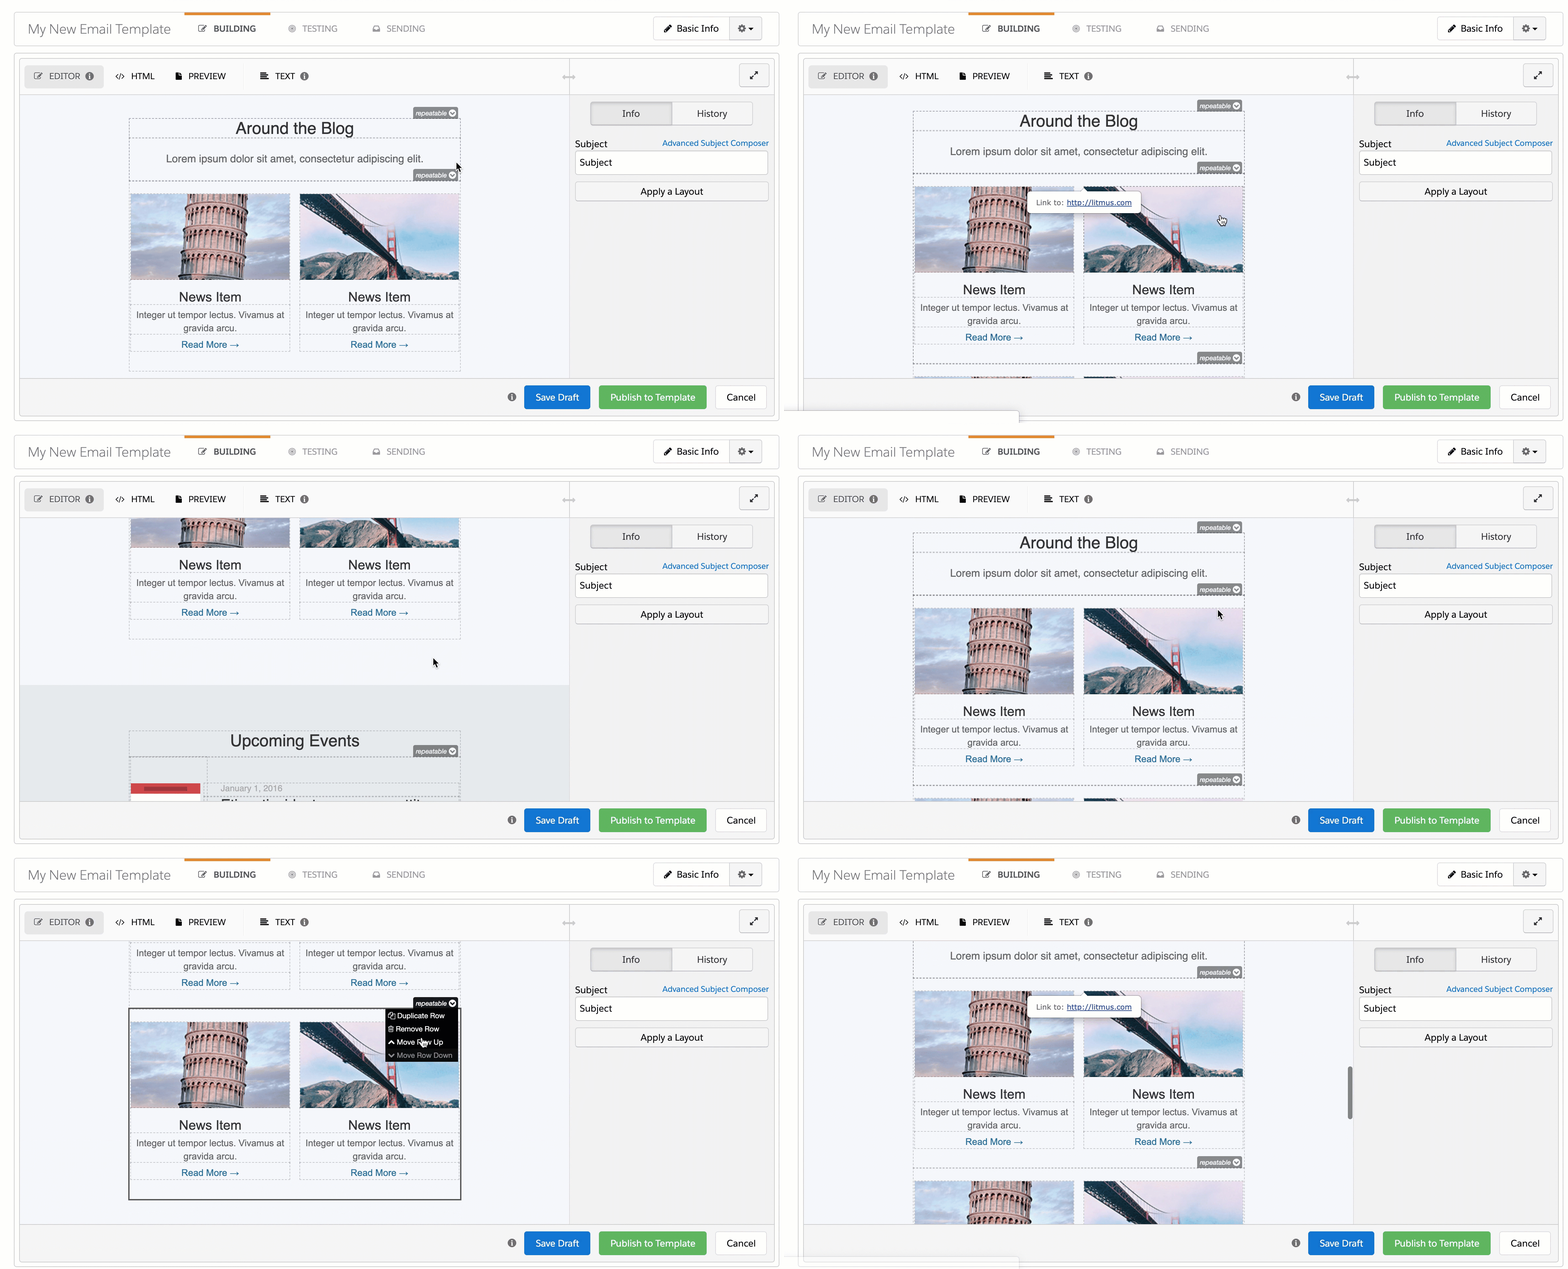
Try it out
That wasn’t too complicated, was it? Now you can turn any email template into an editable Pardot email template. Here are some good free email templates to get you started.
- Slate: responsive email templates by Litmus (this is the one I used in the tutorial)
- Free, Modern HTML Email Templates by Litmus
- BEE free email templates
- Responsive email templates by Zurb
- Cerberus: A few simple, but solid patterns for responsive HTML emails. Even in Outlook and Gmail.
Questions?
Send them to me via email, send me a tweet @jennamolby, or leave a comment.

9 Comments
Hi Jenna,
What are your thoughts on inlining CSS? I noticed in your sample template that your CSS is in a
Hi Mike, Great question. I do recommend inlining the CSS for emails especially if you need to support different versions of Outlook. The CSS at the top of the page in this example is mostly for mobile clients (responsive design), where it is 100% supported.
Thank you for sharing such a detailed tutorial on how to make editable templates in Pardot! Your blog has been super helpful as I learn Pardot after transitioning from a Marketo platform.
You’re welcome! So happy you found it helpful :). Cheers, Jenna
Hi Jenna, Any recommendations on how to edit the strip of color across the top on the litmus example you used? It currently shows black and I was hoping to change it to my brand color.
Jenna always with the best Pardot tips and tutorials. Thanks again for this and all your other content! Saw your website down for a day or two and nearly had a heart attack thinking about all the gold you’ve published being gone! Thanks again!!
Hi Matthew, So happy you find my content helpful 🙂 Cheers, Jenna
Thank you for this tutorial. Can you please tell me if I can do the same with the Postcards email templates? I mean about this https://designmodo.com/postcards/ .
Just want to know if I can import these templates to Pardot.
Hi Andrew, You’re welcome! I haven’t used Postcard’s emails before, but I can’t think of any reasons why this method wouldn’t work. Cheers, Jenna