
There are many ways to include a Pardot form on your WordPress website. And choosing the best method depends on your specific use case. For example, you can use a plugin, write custom code, or integrate it using a third-party tool.
In this blog post, we’ll cover each of the methods and provide tips for using them to include Pardot forms on a WordPress website.
How to Include Pardot Forms on a WordPress Website
Here are five methods that we’ve used and tested, along with a detailed breakdown of how each method works.
1. Add the embed code directly in WordPress
The first option to embed Pardot forms on your WordPress site is to simply copy the HTML embed code Pardot provides you with and paste it into a page or post.
This is definitely one of the easier methods. However, if you often toggle between the visual and text (HTML) editor within WordPress, I’ve found sometimes it strips out code.
If you use this method, just make sure you test your form if you make any updates to your page or post.
2. Install the Pardot WordPress plugin
Another option is to install and configure the Pardot WordPress plugin. The plugin securely connects your Pardot instance with your WordPress installation. You will be able to track visitors, embed forms and dynamic content without touching a singe line of code.
How it works
Install the plugin and connect your Pardot account
Install the Pardot WordPress Plugin and activate it within WordPress. This will create a new menu item under Settings > Pardot
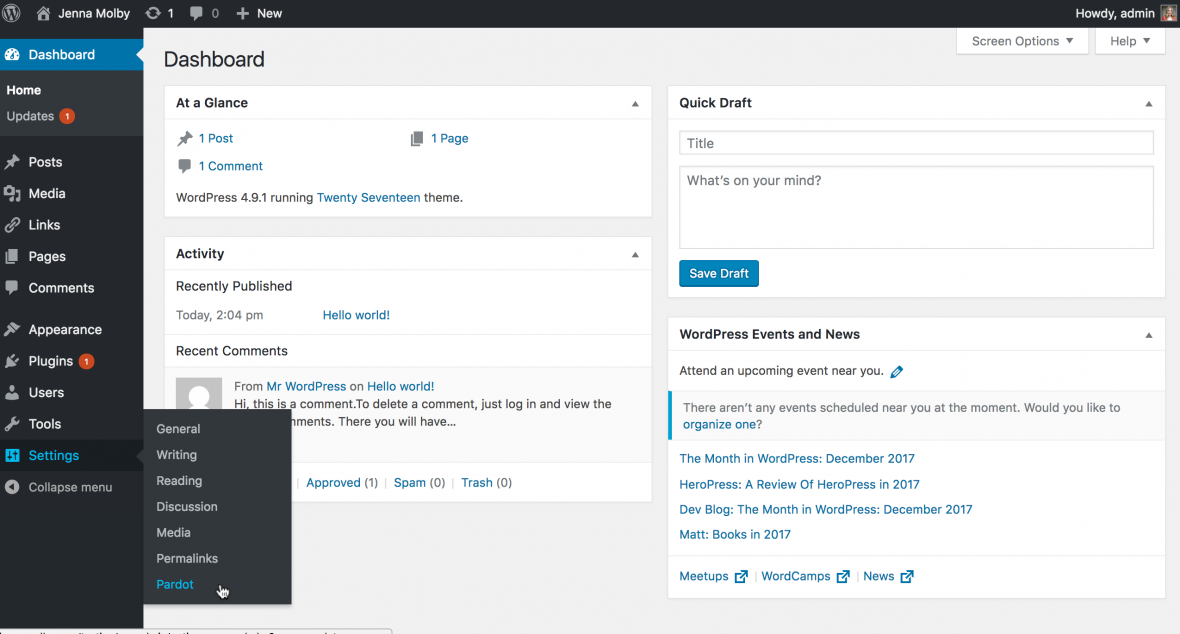
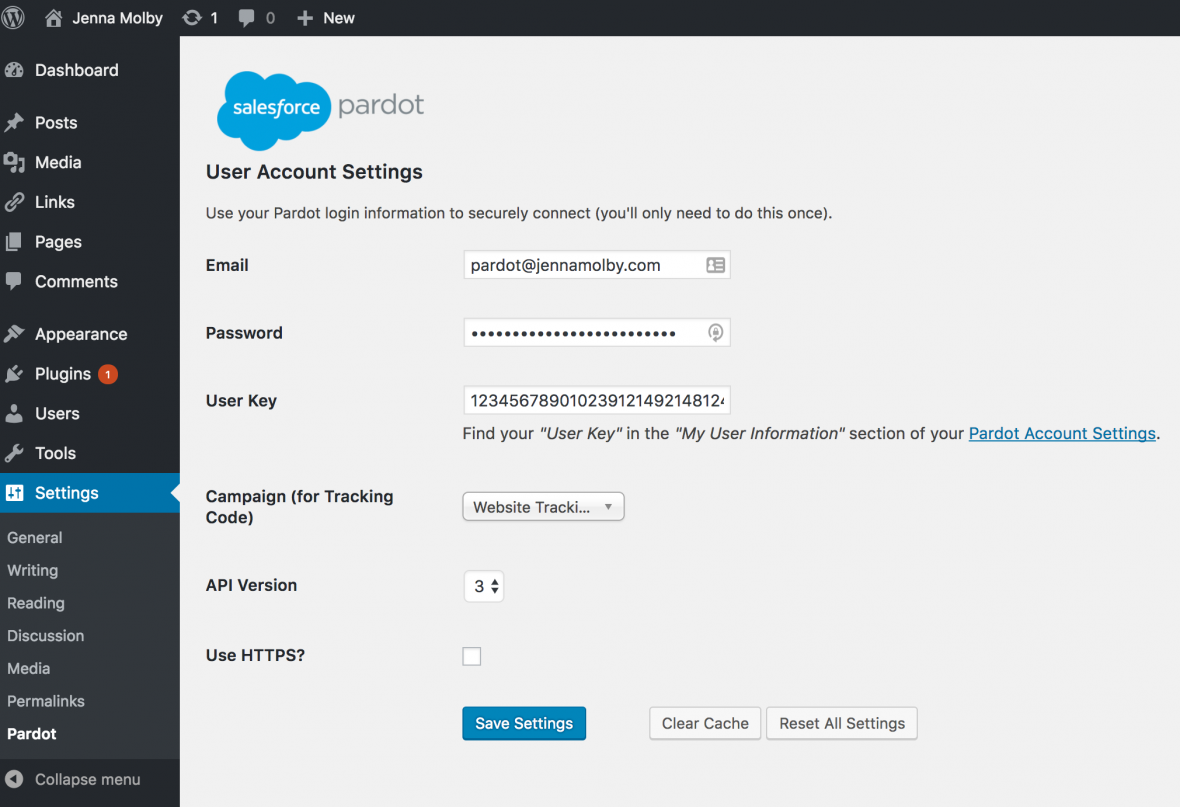
Enter in your Pardot credentials along with your user key and save the settings.
Add forms to your pages, posts, and widgets
Once the plugin is configured you will be able to use short codes to insert Pardot forms within posts, pages and widgets. Short codes can be generated by clicking on the Pardot icon within the WYSIWYG editor or by following their short code syntax located in the FAQ section of this page


3. Install a Short Code WordPress Plugin
Another option is to download a short code WordPress plugin such as Shortcoder. This won’t give you as many features as using the Pardot WordPress plugin, since it doesn’t connect with your Pardot account and it won’t pull in all the forms within your account. However, Shortcoder has many other uses beyond including Pardot forms within your WordPress website, so it’s a good option if you want to limit the number of installed plugins within WordPress.
How it Works
Download and activate the plugin
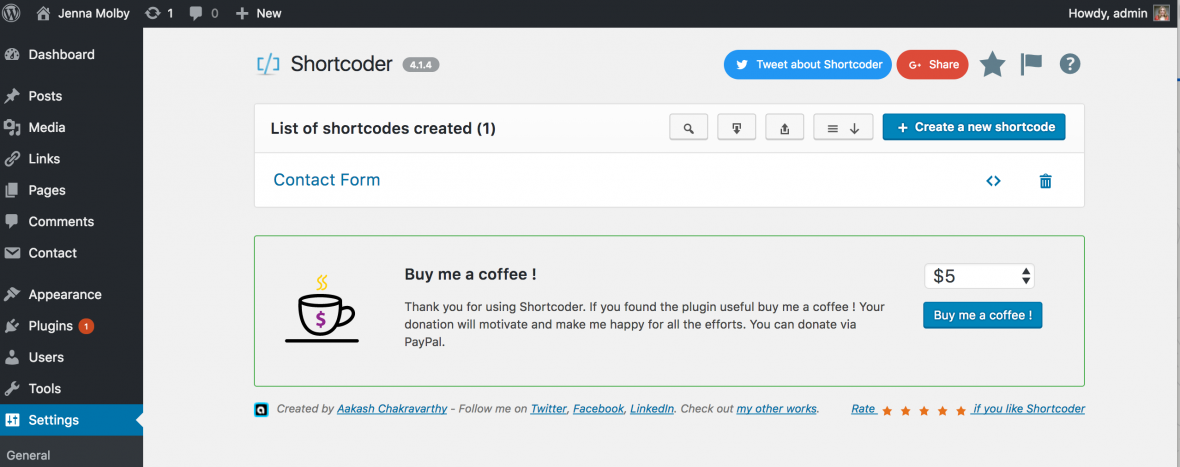
Download and activate the Shortcoder Plugin. This will create a new menu item under Settings > Shortcoder.
Copy & Paste Your Pardot Form Code
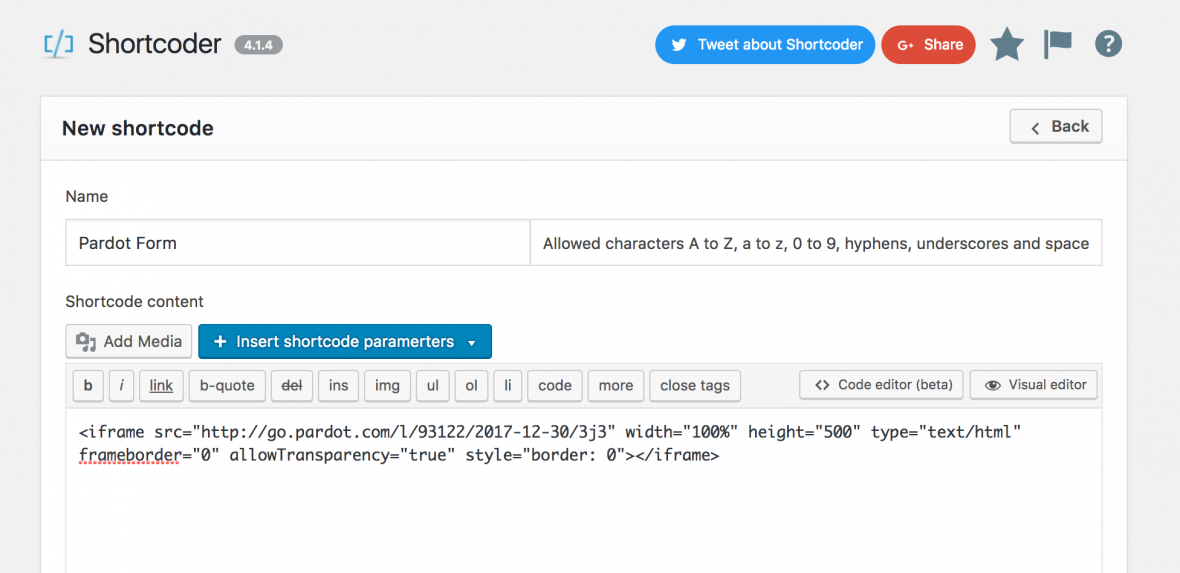
Create a new shortcode and give it a name. Make sure you select the code editor option.
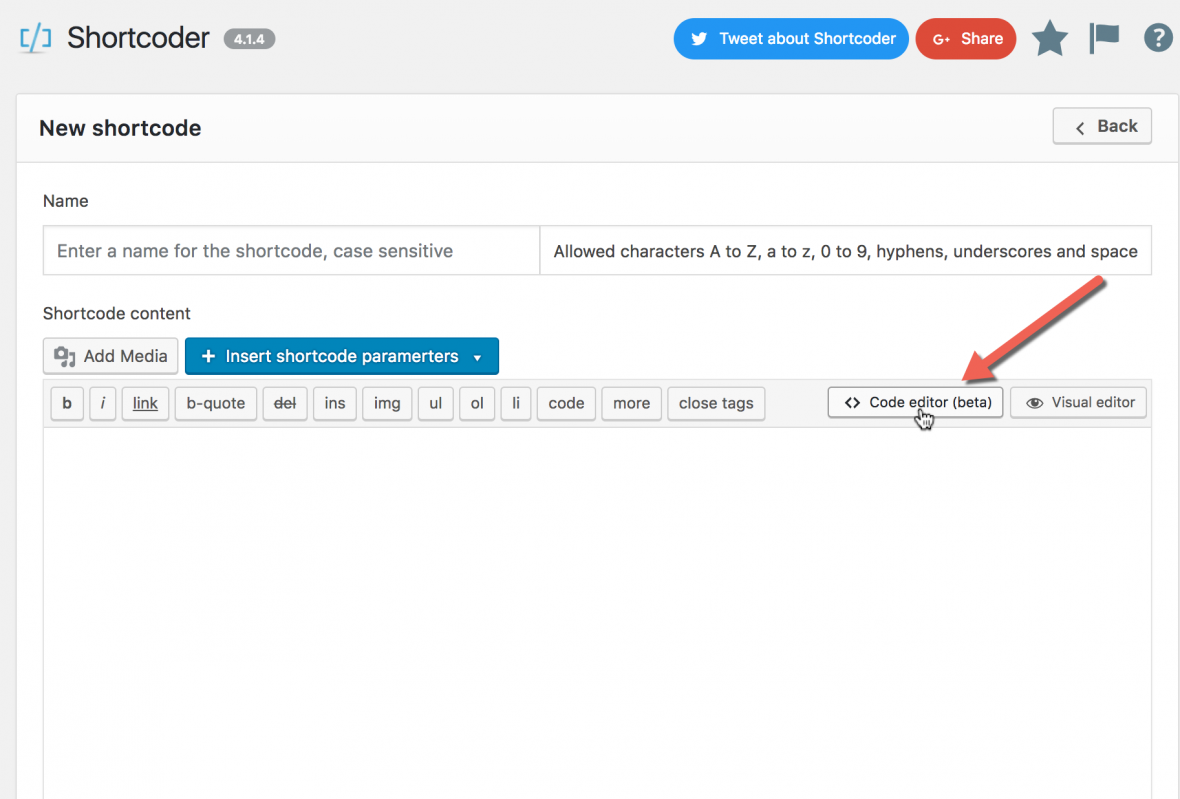
Copy and paste the HTML for your Pardot form in the shortcode editor and save.


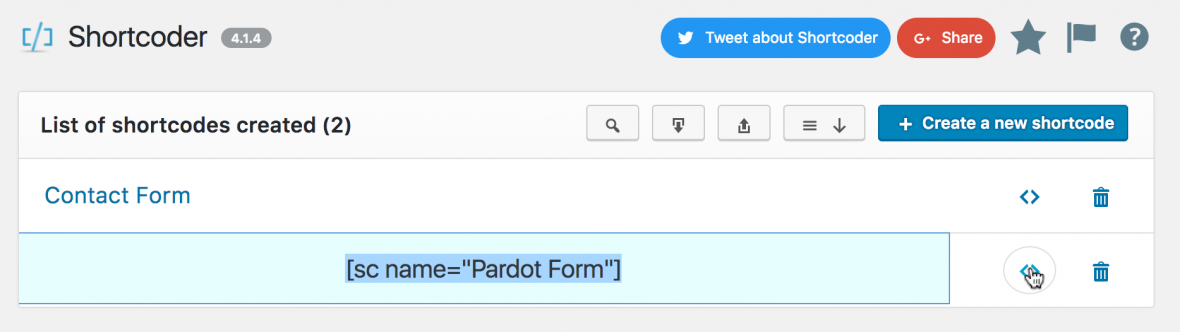
Your Shortcode is ready to use!
Now, you can use the shortcode to place your Pardot form on any page, post, and widget within WordPress.
4. Integrate Contact Form 7 Plugin with Pardot Form Handlers
With a bit of config work you can integrate the Contact Form 7 Plugin with Pardot form handlers. This method is great since Contact Form 7 is a popular WordPress plugin which you might already have installed. The form will also inherit any form styles you already have included on your website.
How it Works
Install and activate the plugins
Install the Contact Form 7 Plugin and activate it. You will also need to install and activate the 3rd Party Integration Plugin in order to integrate Pardot.
Create a new Contact 7 Form
Under Contact create a new form or edit the default form that’s provided.

Create a new Pardot Form Handler
Create a new form handler in Pardot. The form will not use the success and error locations configured in the form handler settings, so you can leave those blank.

Set up the Integration
In WordPress, navigate to Contact > 3rd Party Services.
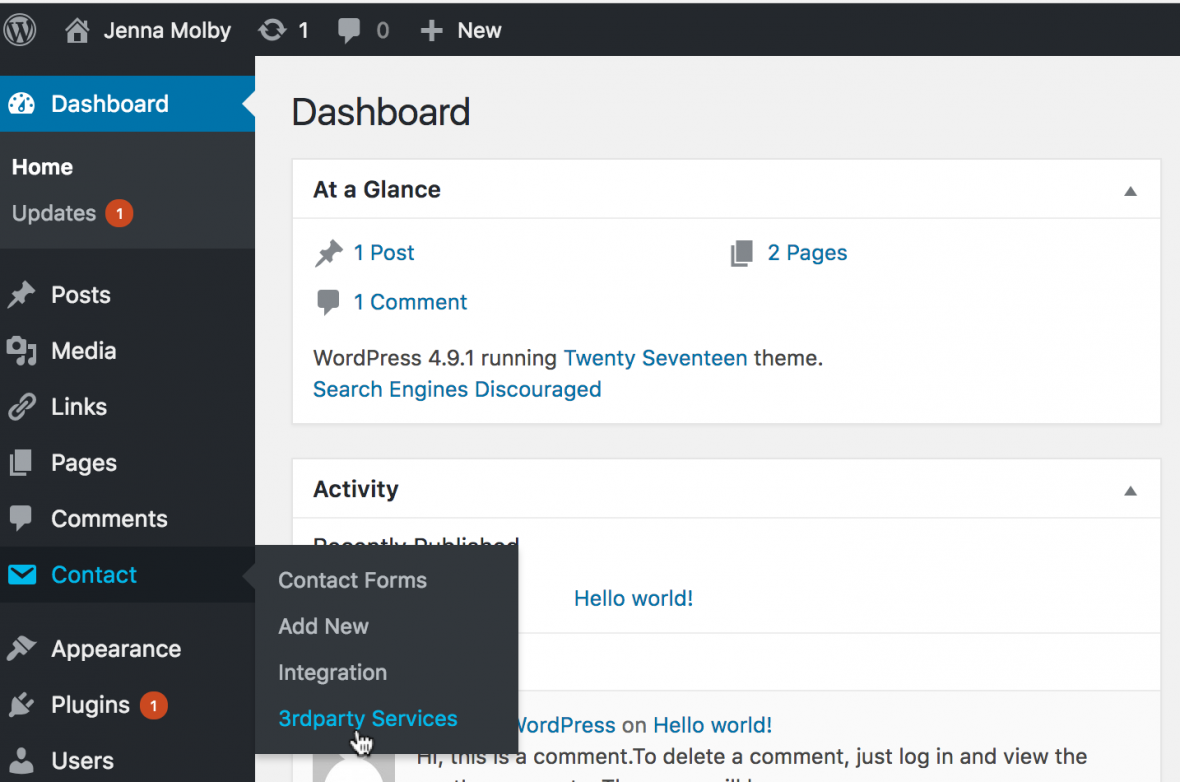
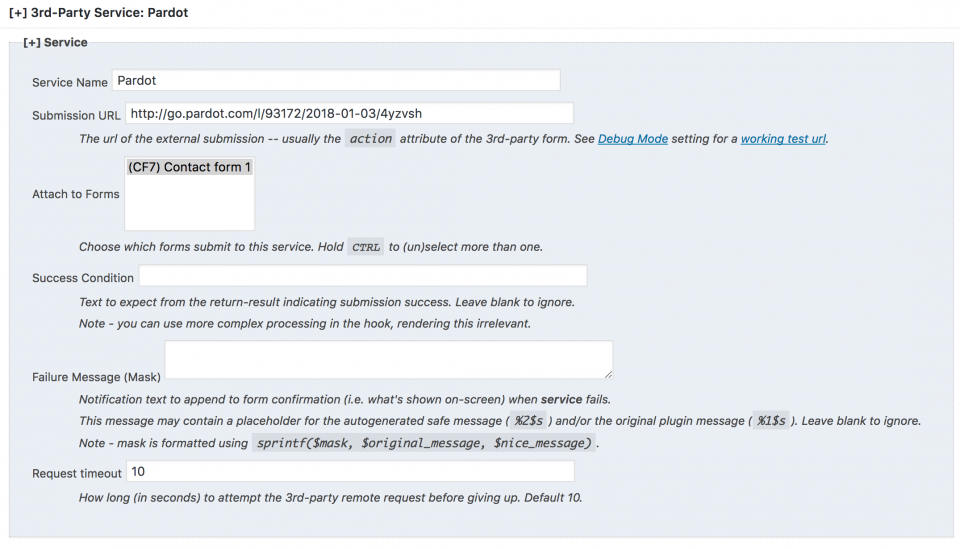
Add a new 3rd Party Service. Service name can be anything you want. Submission URL should be the URL Pardot provides for your form handler. Select the form you want to attach the Pardot form handler to. You can leave the success condition and the failure message blank to keep the Contact Form 7 defaults.
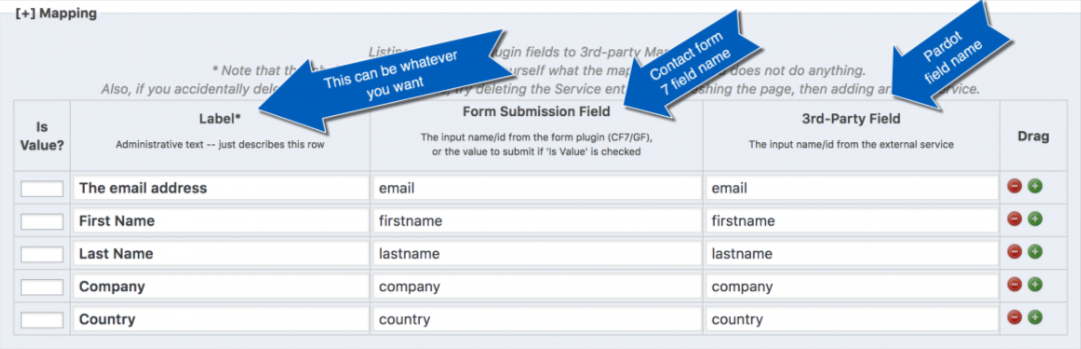
Map your fields
The last piece is to map the fields within Contact Form 7 to your Pardot form handler. I like to keep the names for both the same.
5. Popup Builder Plugin
This Popup Builder plugin allows you to create highly customizable popups that can be used with any of the methods outlined in this post. Perfect for gating assets on your website with Pardot forms, blog subscription popups and more!
How it works
Install and activate the plugin
Install and activate the Popup builder plugin. This will create a new navigation item called Popup Builder.
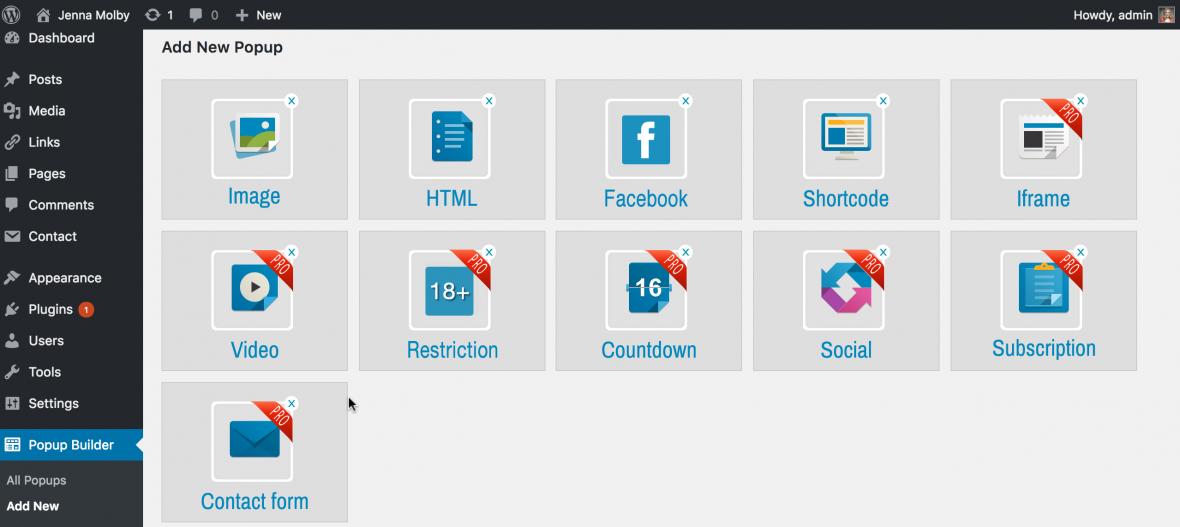
Create a new popup
Create a new popup and select the type. You can select HTML if you want to copy & paste the iFrame code Pardot provides directly into WordPress. You can also use the short code option if you want to use the popup plugin in conjunction with another plugin, such as the Pardot WordPress Plugin.
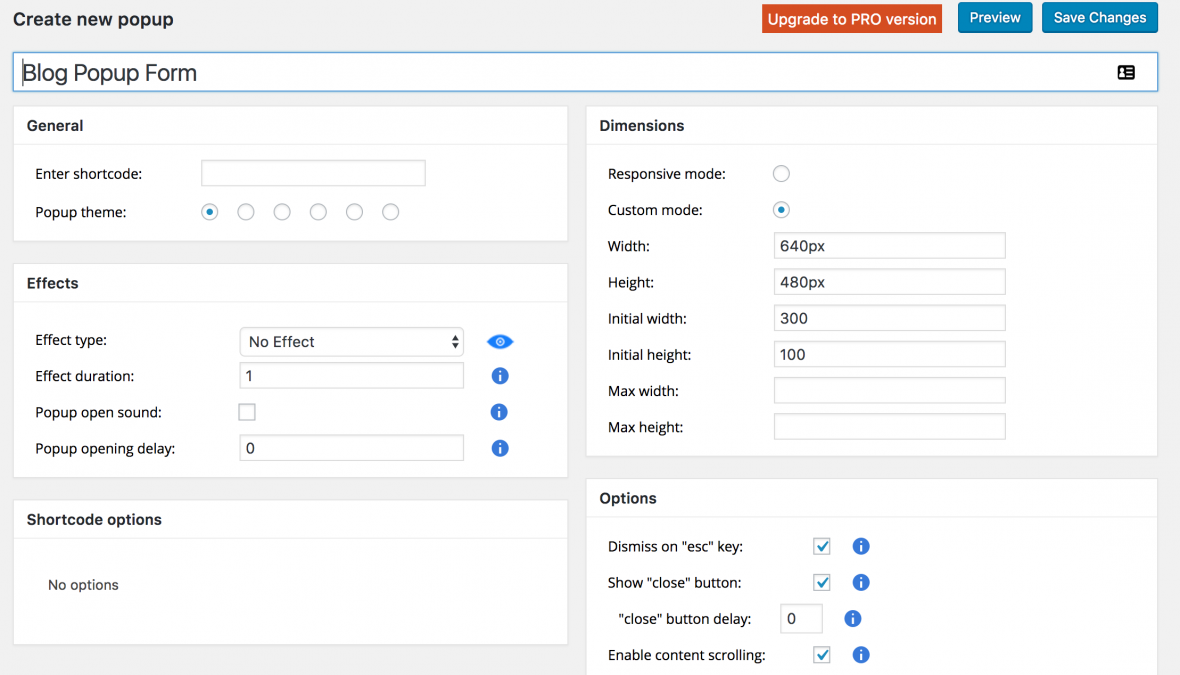
Configure the popup
Configure your popup using one of the many options available and save.
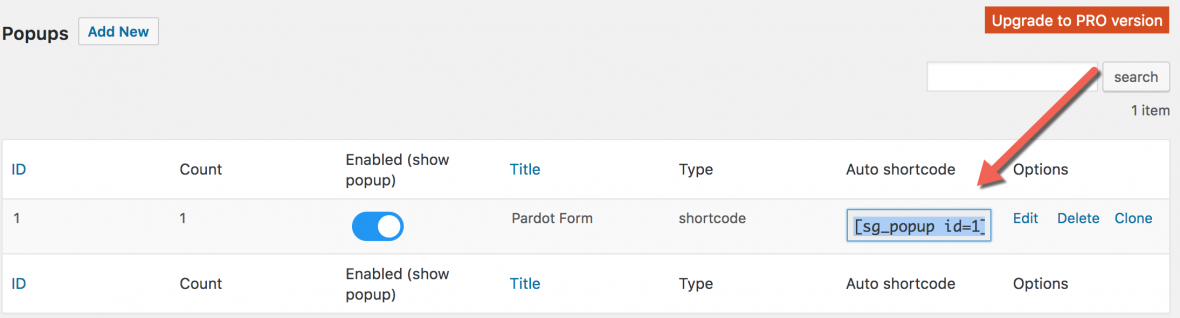
Add it to your pages
The plugin will generate a shortcode which can be added to you post and pages.
Questions?
Send me a tweet @jennamolby, or contact the Sercante team for help.